Image Credit: Unsplash
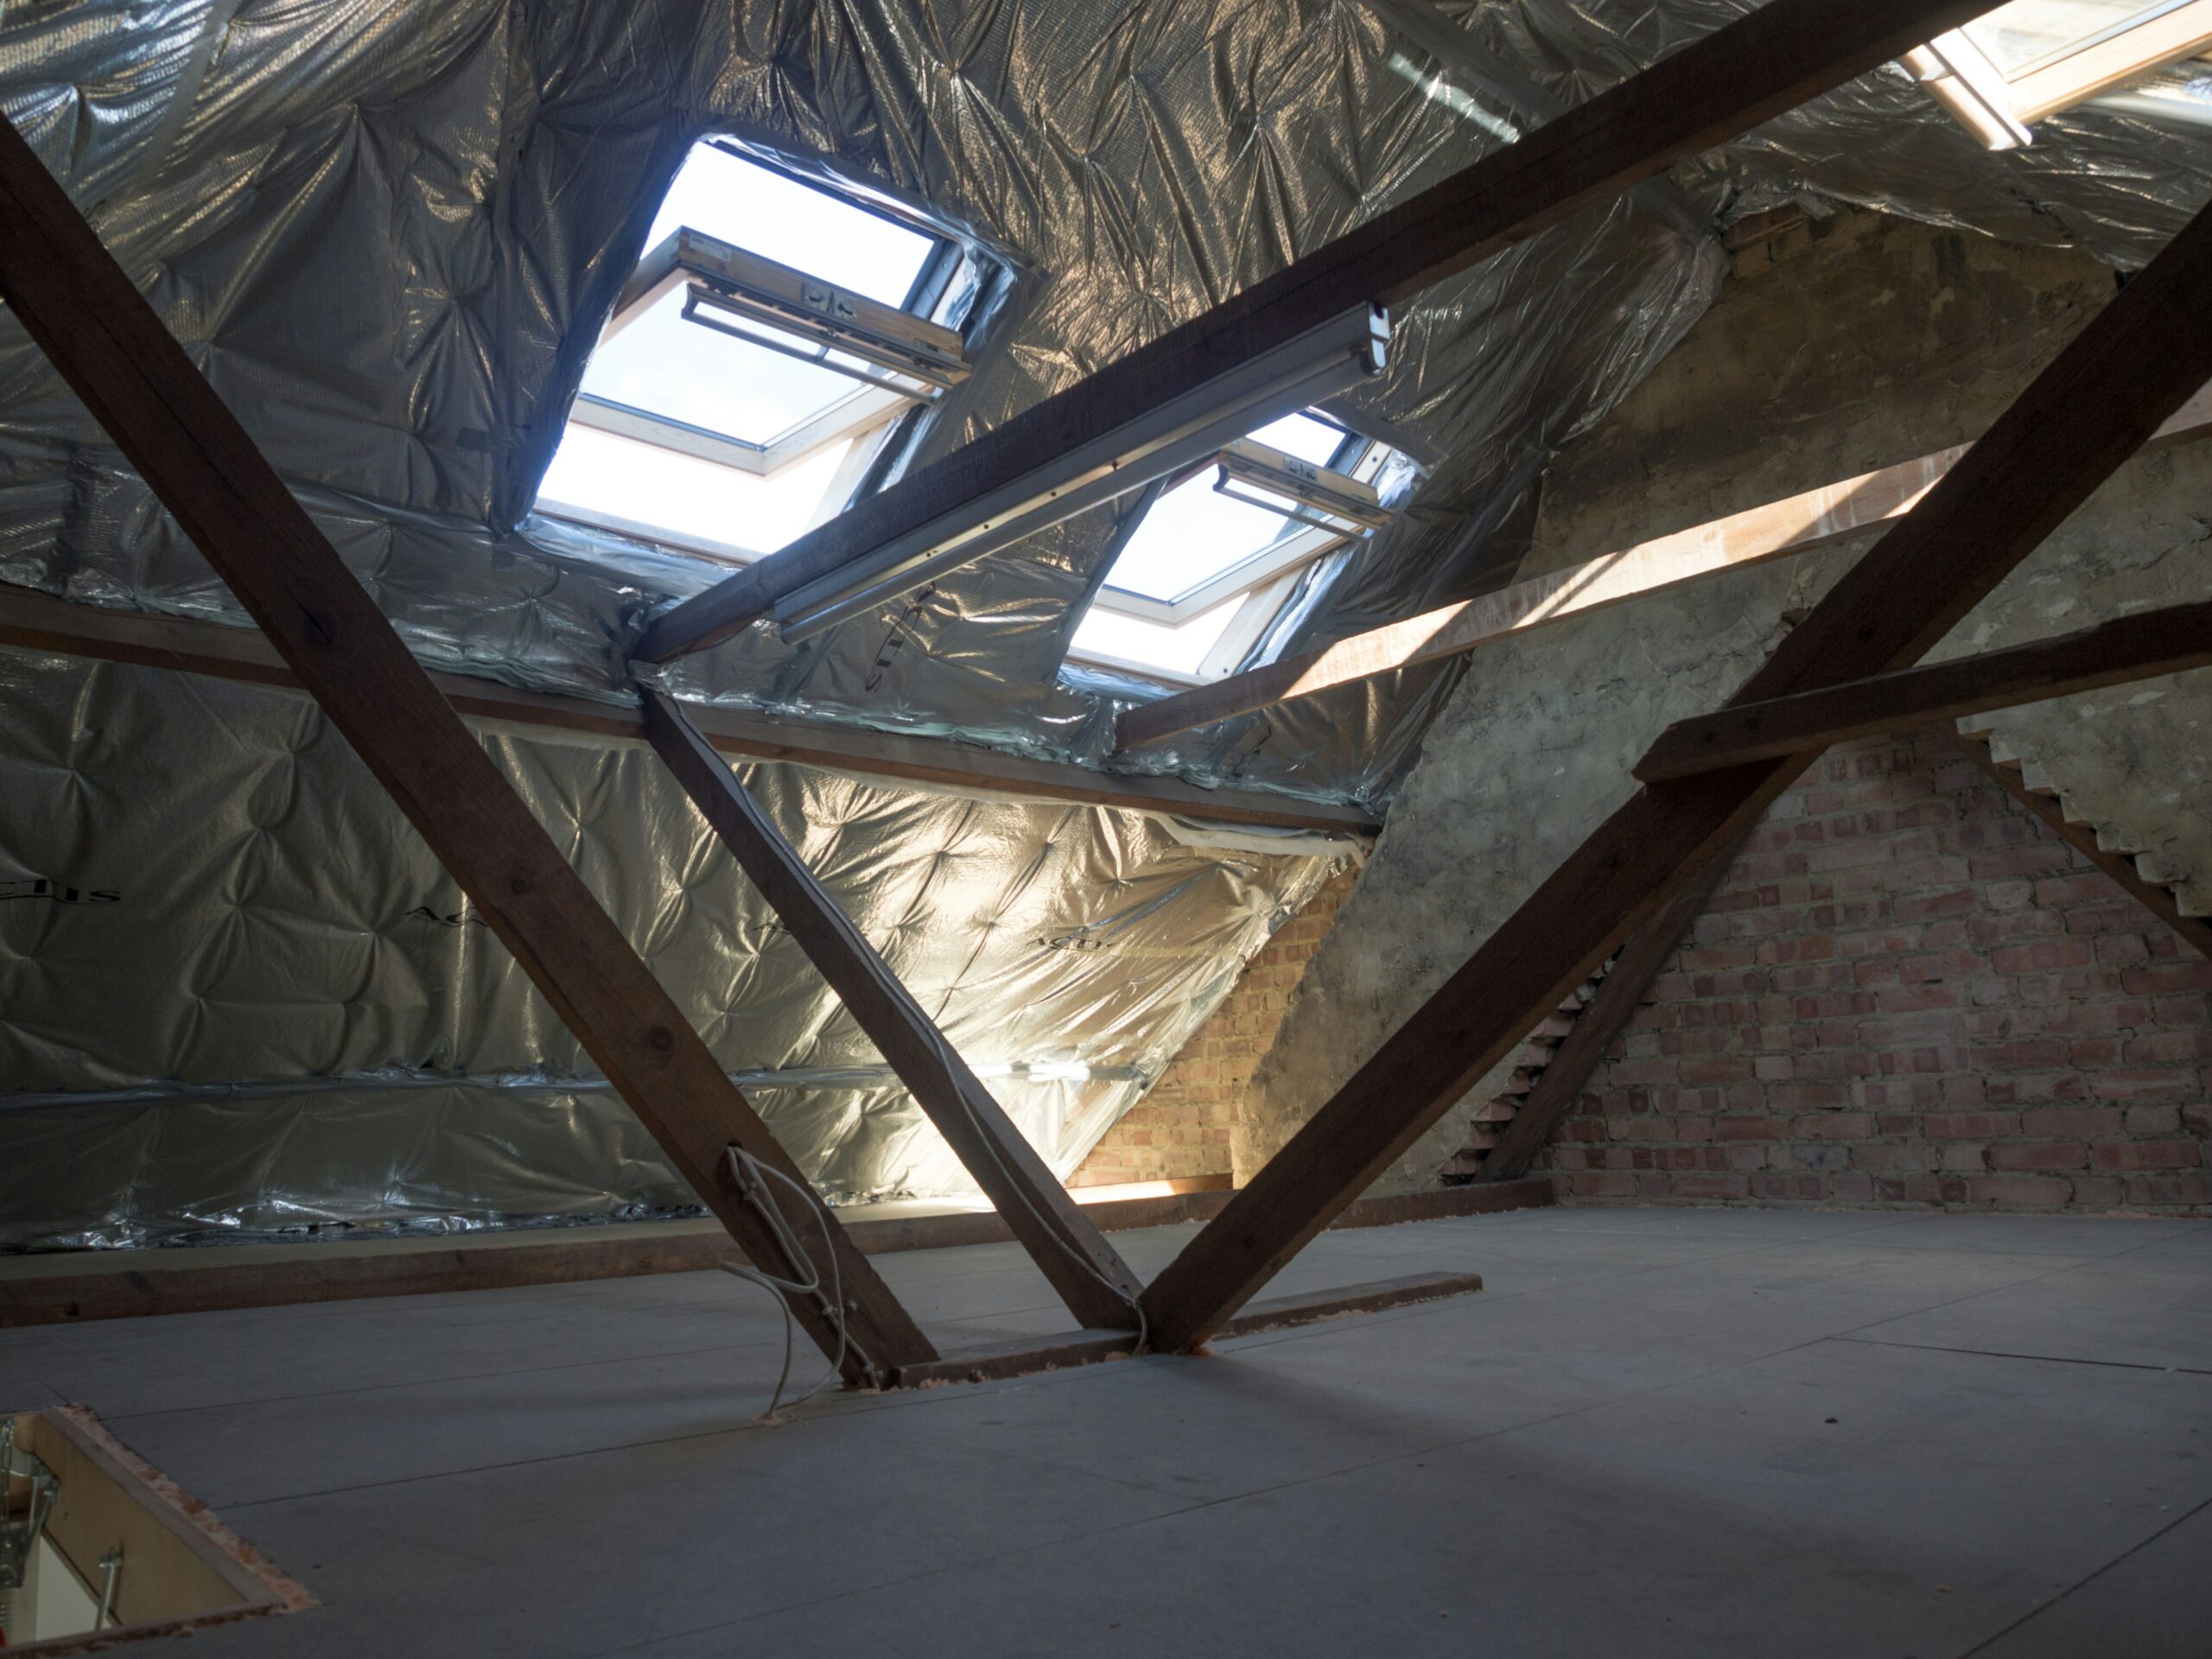
Older homes often lose warmth through several small faults that add up to uncomfortable rooms and higher energy bills. Insulation can help, but the job needs more thought than simply adding material to the loft or roof space. Existing damp, ageing building products and blocked ventilation can all affect the result.
Before work begins, inspect the whole building and deal with any hazards so the finished upgrade stays safe and effective for years.
Locate Where Heat Escapes Most
Start with the roof space, external walls, suspended floors and gaps around doors or windows. On a cold day, draughts may be noticeable by hand, while patches of melting frost on a roof can reveal uneven insulation. A thermal imaging survey offers a clearer picture without opening finished surfaces.
Check existing insulation for compressed areas, damp patches and sections displaced by past electrical or plumbing work. The practical older-home insulation tips also explain common trouble spots and basic preparation. Record what you find before buying materials, since one draughty hatch or uninsulated extension may deserve attention before a larger project.
Clear Hazardous Residues in Roof Cavities
Treat unknown roof and wall materials cautiously, particularly in homes built or altered decades ago. Old insulation, cement sheeting, pipe lagging and textured products may contain hazardous fibres that cannot be identified reliably by appearance. Don’t drill, sweep or lift suspect material, as disturbing it can release dust into the home.
Arrange professional identification before insulation installers arrive. Homeowners in Ballina and the Northern Rivers region can seek licensed asbestos removal and compliant disposal when testing confirms affected material. Once the cavity has been cleared and documented, installers can work without covering over a hidden problem. This sequencing also avoids paying to remove newly fitted insulation later.
Choose Safe Sustainable Modern Materials
Compare insulation using its R-value, which indicates resistance to heat flow. The suitable rating depends on your climate, the part of the building and any local construction requirements. Thickness matters too, as squeezing a thick batt into a shallow cavity can reduce performance.
Recycled polyester, cellulose, glass wool and mineral wool are common options, each with different moisture behaviour, installation needs and environmental impacts. Ask for product data covering fire performance, expected service life and recycled content.
Also check that the material suits the cavity. Loose-fill products may work well in an irregular roof space, while correctly sized batts can be easier to inspect around joists. Keep insulation clear of heat-producing fittings unless the product and fitting specifications permit contact.
Seal Gaps Without Trapping Condensation
Insulation performs best when unwanted air leaks are sealed, but an older home still needs controlled ventilation. Focus first on obvious openings around pipe penetrations, loft hatches, skirting boards and unused service holes.
Use a sealant or draught-proofing product suited to the surface and expected movement. At the same time, leave designed vents open and check that bathroom and kitchen extractor fans discharge outdoors. Warm indoor air can condense when it reaches a cold surface inside a roof or wall, leading to mould and timber decay. If you find staining or persistent damp, repair the moisture source before closing the cavity.
A successful insulation upgrade should leave the home warmer without hiding old hazards or creating a moisture problem. Schedule the building inspection first, then give any remediation, ventilation work and electrical checks enough time before the insulation date. That order keeps the project practical and prevents freshly installed material from needing to come out again.
Leave a Reply