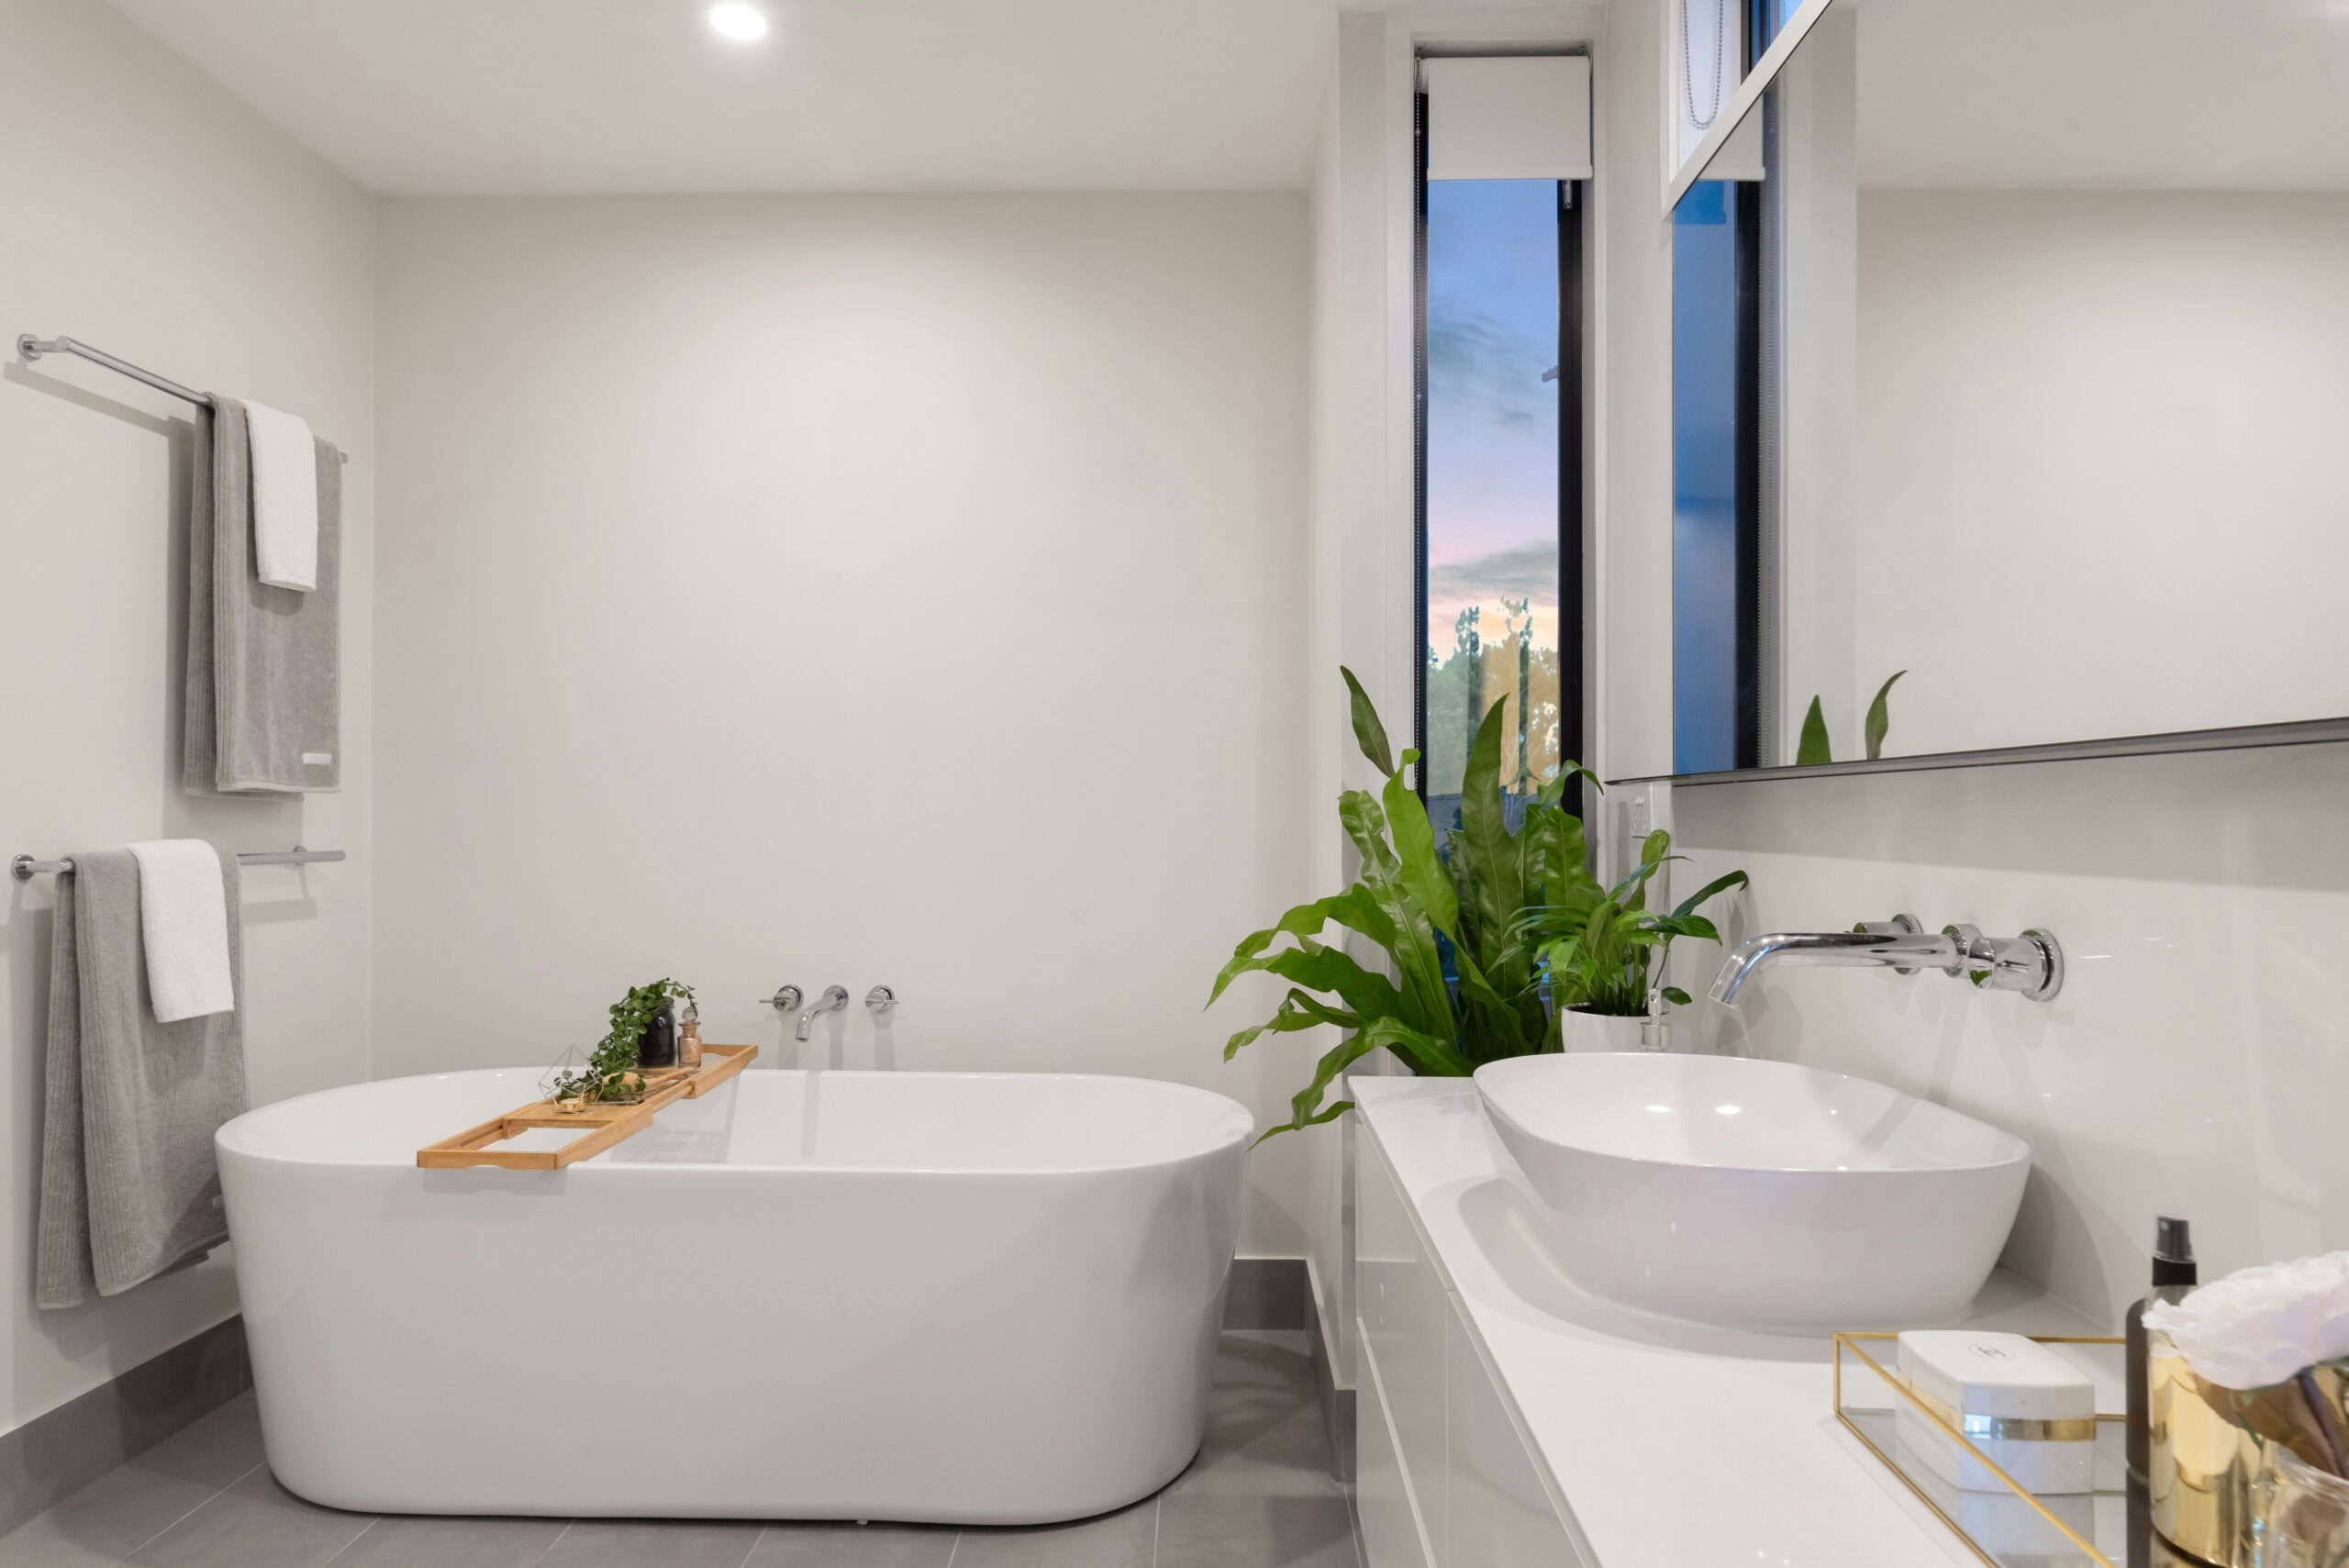
Image Credit: Unsplash
Bathroom renovations can expose leaks, damp framing and small gaps that have been causing trouble out of sight. Fixing these problems before new surfaces go in protects the finished room from stains, odors and costly repairs. Once the walls and floor are open, take the opportunity to inspect the structure closely and address the conditions that allow moisture, mildew and household pests to spread.
Address Moisture Behind Tile Walls
Remove damaged tile and backer board far enough to identify the full source of moisture. Common hidden water damage signs include soft drywall, darkened timber, peeling paint and a persistent musty smell. A moisture meter can help identify damp areas that still look sound.
Repair leaking supply lines, drains or shower fittings before replacing any wall materials. Wet framing should dry fully, which may take several days with fans and good ventilation. If timber feels soft or crumbles under light pressure, ask a qualified contractor to assess it. Other bathroom water damage clues include loose tiles, swollen baseboards and staining on the ceiling below the room.
Seal Entry Points Around Plumbing
Openings around sink drains, toilet pipes and supply lines often extend farther than necessary. These gaps allow humid air to reach wall cavities and give insects an easy route into the bathroom. Seal narrow openings with a suitable bathroom-grade sealant. Larger spaces may need backing material or a fitted escutcheon plate before sealing.
Check below the vanity and around pipes that pass through the floor. If you notice droppings, insect activity or damaged materials, arrange professional pest control before the openings are closed. Choose sealants that remain flexible because pipes can shift slightly as water temperature changes. Keep shutoff valves accessible instead of covering them with permanent finishes.
Plan Preventative Pest Control Before Closing Walls
Wall cavities provide warmth, moisture and shelter, particularly when an old leak has dampened insulation or timber. Remove debris, replace wet insulation and vacuum dust from the cavity before installing new board. Cardboard packaging and timber offcuts should also leave the room each day because they can conceal insects.
Look closely at floor-wall joints, pipe penetrations and gaps around ventilation ducts. The practical guidance on pests and mold infestation can help you recognize conditions that encourage both problems. Schedule any necessary treatment after demolition and before waterproofing begins. Tell the contractor which products were applied so later adhesives, membranes and sealants remain compatible.
Choose Mildew-Resistant Finishing Materials
Use cement backer board or another approved tile substrate in wet areas, following the manufacturer’s installation instructions. Apply a continuous waterproofing system around the shower, tub and any ledges where water can collect. Pay close attention to corners and plumbing penetrations because small breaks in the membrane can send water behind otherwise perfect tile.
Choose mildew-resistant paint for ceilings and non-tiled walls, but don’t expect paint to solve poor ventilation. An exhaust fan should vent outdoors and be sized for the room. Run it during bathing and for about 20 minutes afterward. Grout still needs proper sealing when required, while flexible bathroom sealant belongs at changes of plane such as wall corners and the edge of the tub.
Before the final tile is installed, photograph the open walls and mark the positions of pipes, valves and repaired sections. Those records will make future maintenance easier and provide a clear reference if a stain or loose tile appears later. A careful final inspection now can keep hidden damage from returning behind a newly finished bathroom.
Leave a Reply