I’m going to say it. I LOVE Christmas!
I love all the build up and anticipation as it gets closer to the big day. The excitement of the build up and also how excited the kids get too. I love seeing all the decorations and Christmas lights and also hearing Christmas songs on the radio and festive carols playing. It’s a lovely opportunity to spend time with family and friends and enjoy being with the ones we love. Even the Christmas edition of the Radio Times is somewhat magical in its own right.
It therefore seems somewhat backwards that I also love the Grinch. This particular Mr Grumpy is as far from a Christmas fan as you can possibly get, but in this weird (sometimes backwards) world in which we live, that means that he’s become a bit of a Christmas star in his own right. As much as he wanted to put a halt to Christmas in How The Grinch Stole Christmas he actually came to realise that Christmas is so much more than just presents and Christmas dinner. The Grinch is actually a great reminder of what does and doesn’t matter at Christmas time.
Maybe Christmas doesn’t come from a store. Maybe Christmas perhaps means a little bit more.
One thing about Christmas that my kids love is the decorations. They love making our home all “Chritsmassy” and the act of decorating is an important part of the festive season for them. With this in mind when I was asked by Harper Collins to take part in their Merry Grinchmas campaign to celebrate 60 years of The Grinch, I set about to come up with an idea for some Grinch themed decorations.
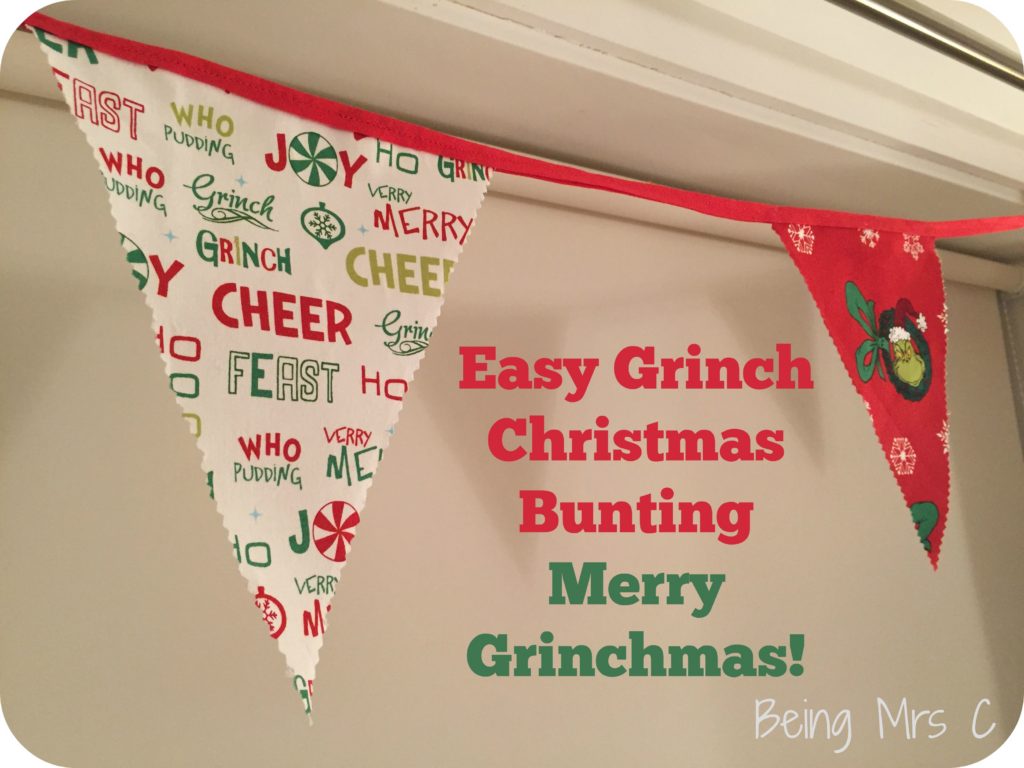
Inspiration hit me at the recent sewing show that I attended in the form of some easy to make Grinch Christmas Bunting. Everyone loves bunting. It can really decorate a room and can make a big visual impact – whether one row of it is string along a wall, or if you zig zag it backwards and forwards across the whole room. It also looks really impressive, when actually it can be quite easy to make.
Here’s my guide to make your easy Grinch Christmas Bunting.
What you’ll need:
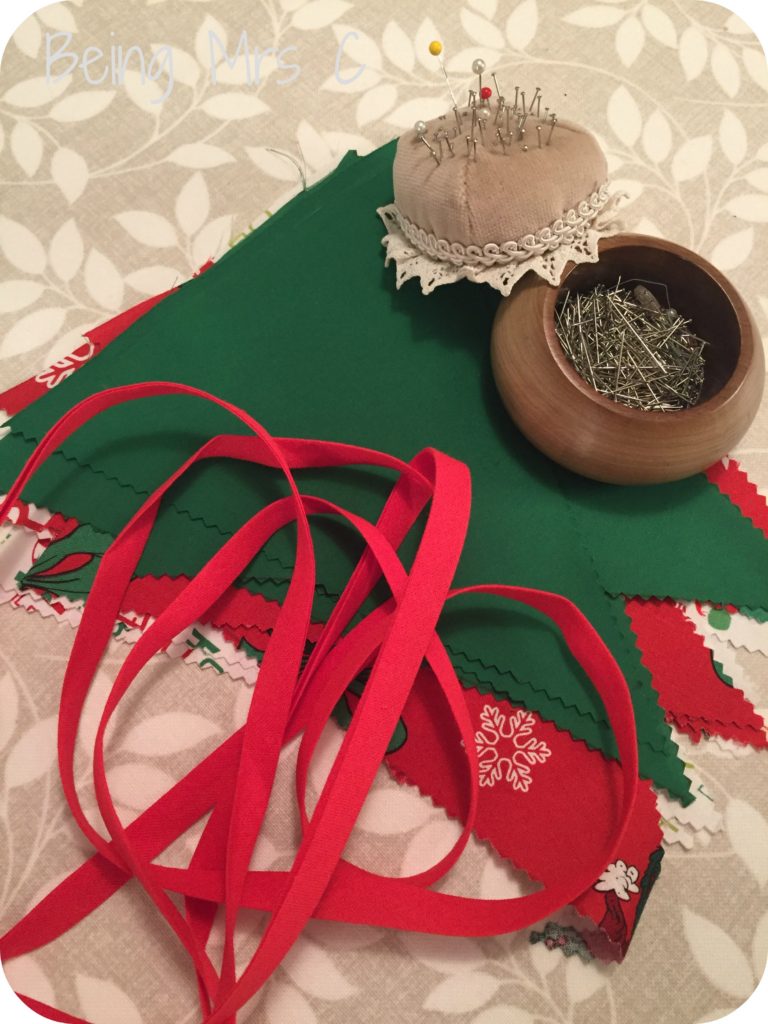
- Grinch fabric – there’s a whole assortment of this available on the internet. Look to buy your fabric in fat quarters if you want an assortment. I purchased the fabric I used from a shop called Fabritastic but there is plenty to be found on Etsy too.
- Plain fabric – to intersperse between the patterned pieces
- Vanishing fabric marker
- Pinking shears
- 1 inch thick bias binding – I chose red, but go for a colour that fits with your fabric choice and you need a length that is as long as you want your finished bunting to be
- Sewing machine, capable of a basic running stitch, and coordinating thread
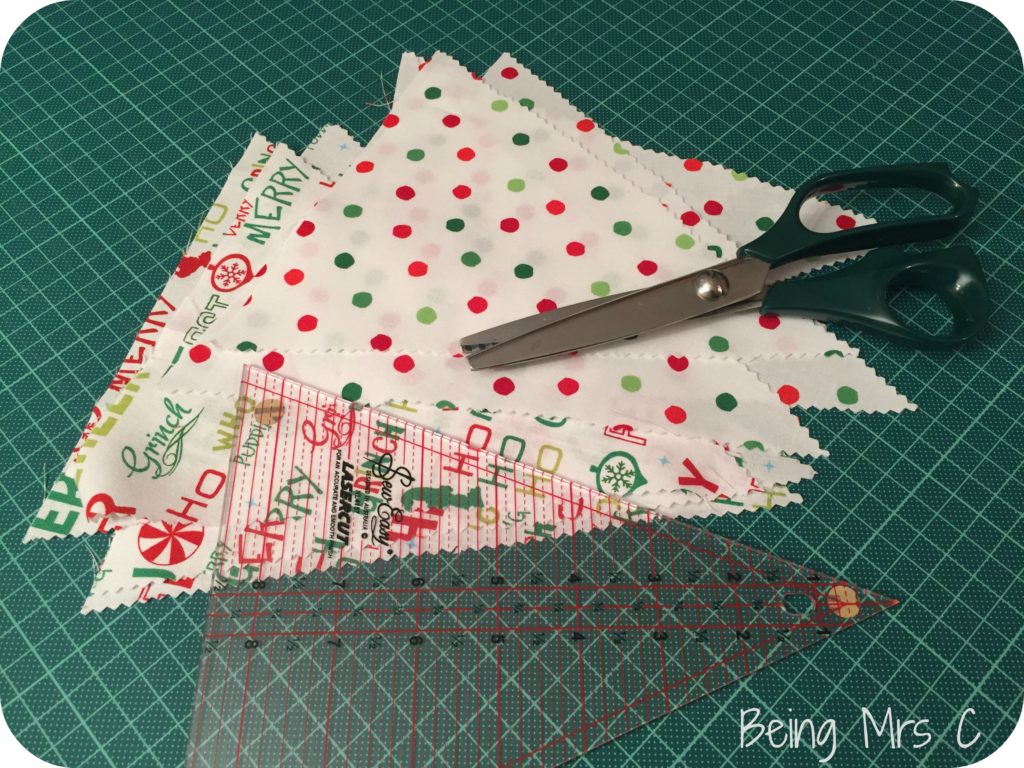
- Triangular quilting template – or just a piece of cardboard cut in the shape that you want your bunting triangles
How to make the bunting:
Firstly iron your fabric so that it’s not creased – especially if you’ve bought fat quarters that were folded up. Also use the iron to fold the bias binding half along its length.
Use the template to draw out the number of triangles you need with a vanishing fabric marker. The number will depend on how long a piece of bunting you want. If the fabric has an orientation then you need to make sure you get your triangles the right way round and might not be able to use the fabric as efficiently as if it were a plain or non-orientated design.
Once all your triangles are drawn out you can then cut them. If you use pinking shears to do this then it stops the edges fraying and removes the need to do any sewing of the triangles.
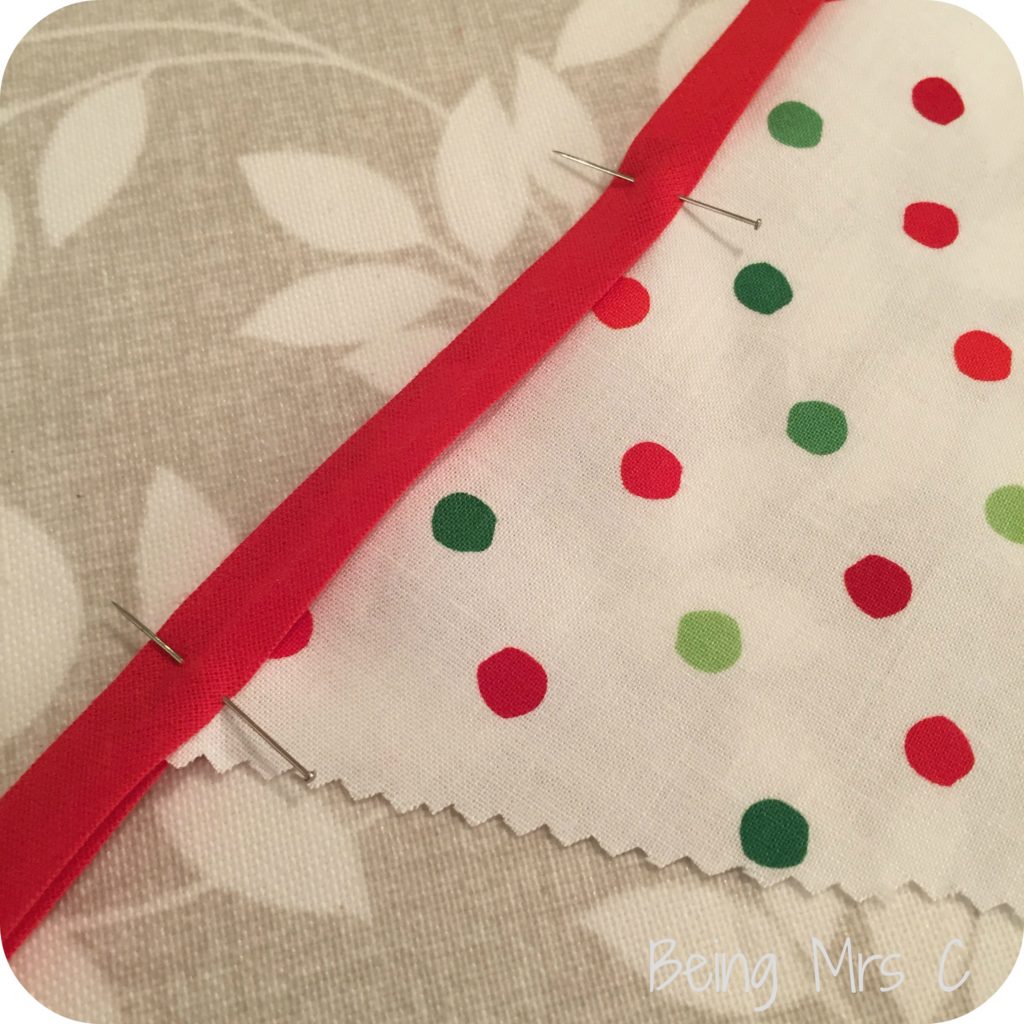
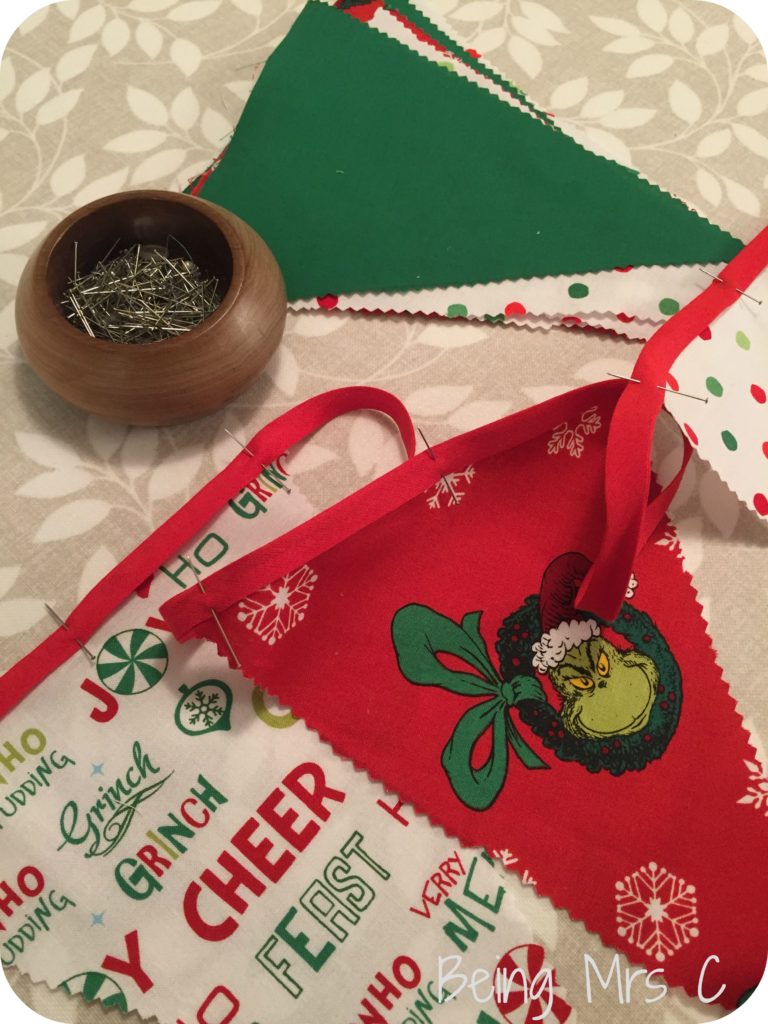
The next job is to organise the order in which you want to put your triangles and how you want to space them on the top tape. Each bunting flag is going to sit so that the top edge of it is inside the fold of your bias binding. That means that you have a clean edge along the tape of your bunting, and also that all the flags are held securely in place.
Position your first flag and then pin through the bias binding and flag, having your pins at 90 degrees to the length of the tape as this makes it easier to remove them whilst you’re sewing.
When it comes to spacing the flags out I chose to leave a space between flags that was the same as the width of one flag – 7.5 inches in my case. If you choose to do so you can either spread your flags out or have them closer together. It’s totally up to you.
With all your flags in place there’s only one more thing left to do – sew them in.
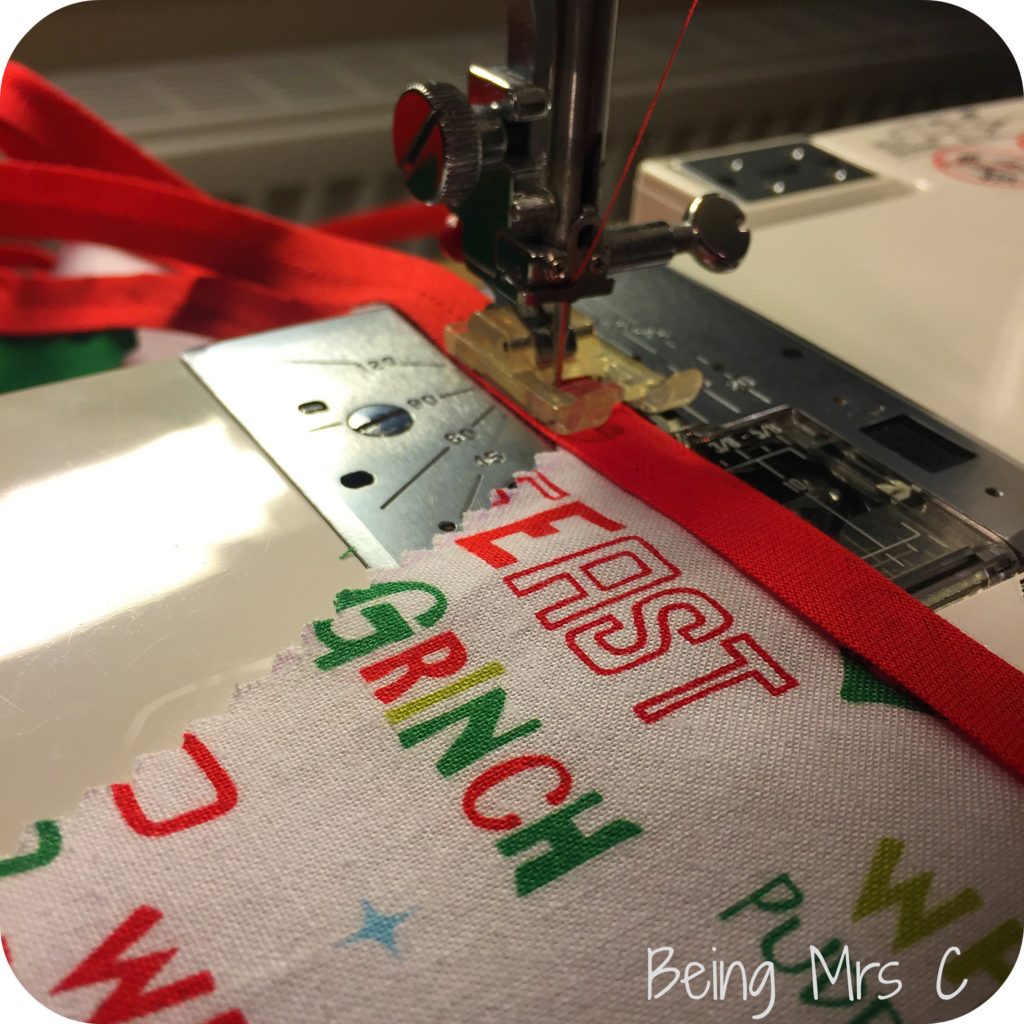
This part too is easy, as all you need is a simple running stitch on the sewing machine. Its easier to just sew the whole length of the bias binding, rather than faffing around starting and stopping and only sewing each flag at a time.
Start at one end of the tape and go backwards and forwards a couple of times to start off your sewing. Then just go in a straight line near the bottom edge of the bias binding. This should secure all the flags in position.
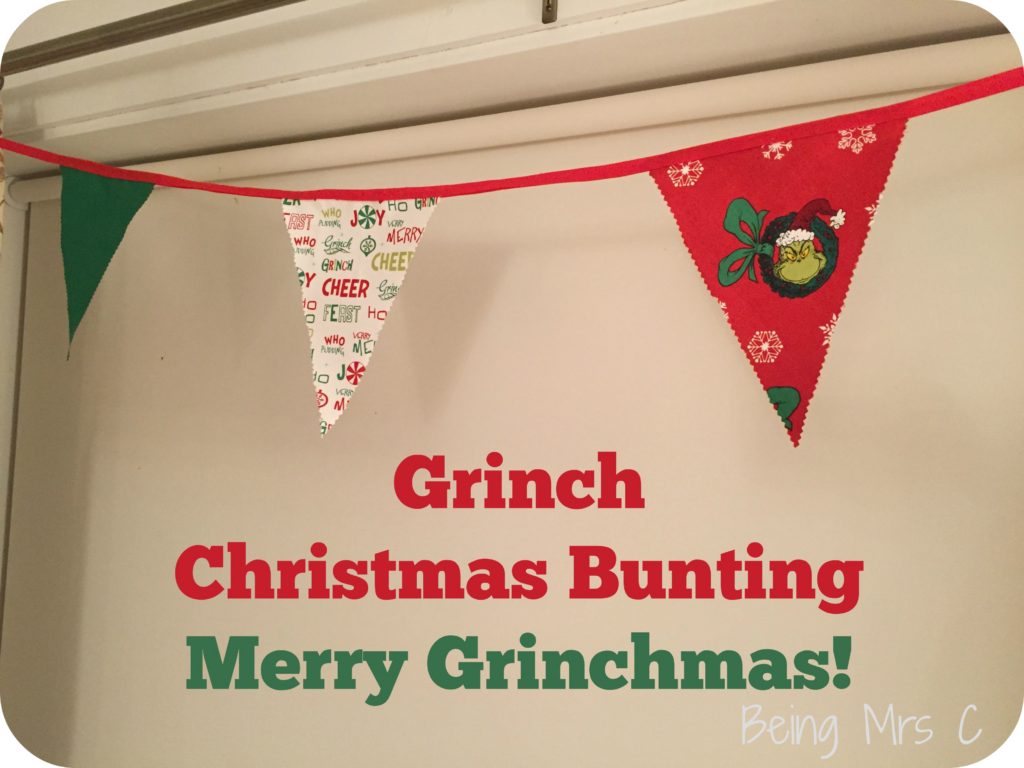
And there you go – bunting complete. It really is as easy as that.
You can either use a drawing pin on the ends of the bias binding to hang it up, or another alternative is to make a small loop at the end of the bias binding, securing it in place with a couple of stitches.
Ta-dah! One set of very easy Grinch Christmas Bunting.
Merry Grinchmas!
To celebrate the Grinch turning 60 Harper Collins are getting the Grinchmas spirit. Over on their website you can make your own Grinch-O-Gram and twelve bloggers are marking the 12 days of Grinchmas with 12 different Grinch based activities for your to join in with at home.
Leave a Reply