I do love it when the kids get slightly unusual Christmas presents and one of Little Miss C’s uncles really came up trumps this year (not that the other two uncles didn’t, if you’re reading, as the kids love all their presents too thank you!) with a flowerpot bread making kit.
Flowerpot bread you may think – what on earth?
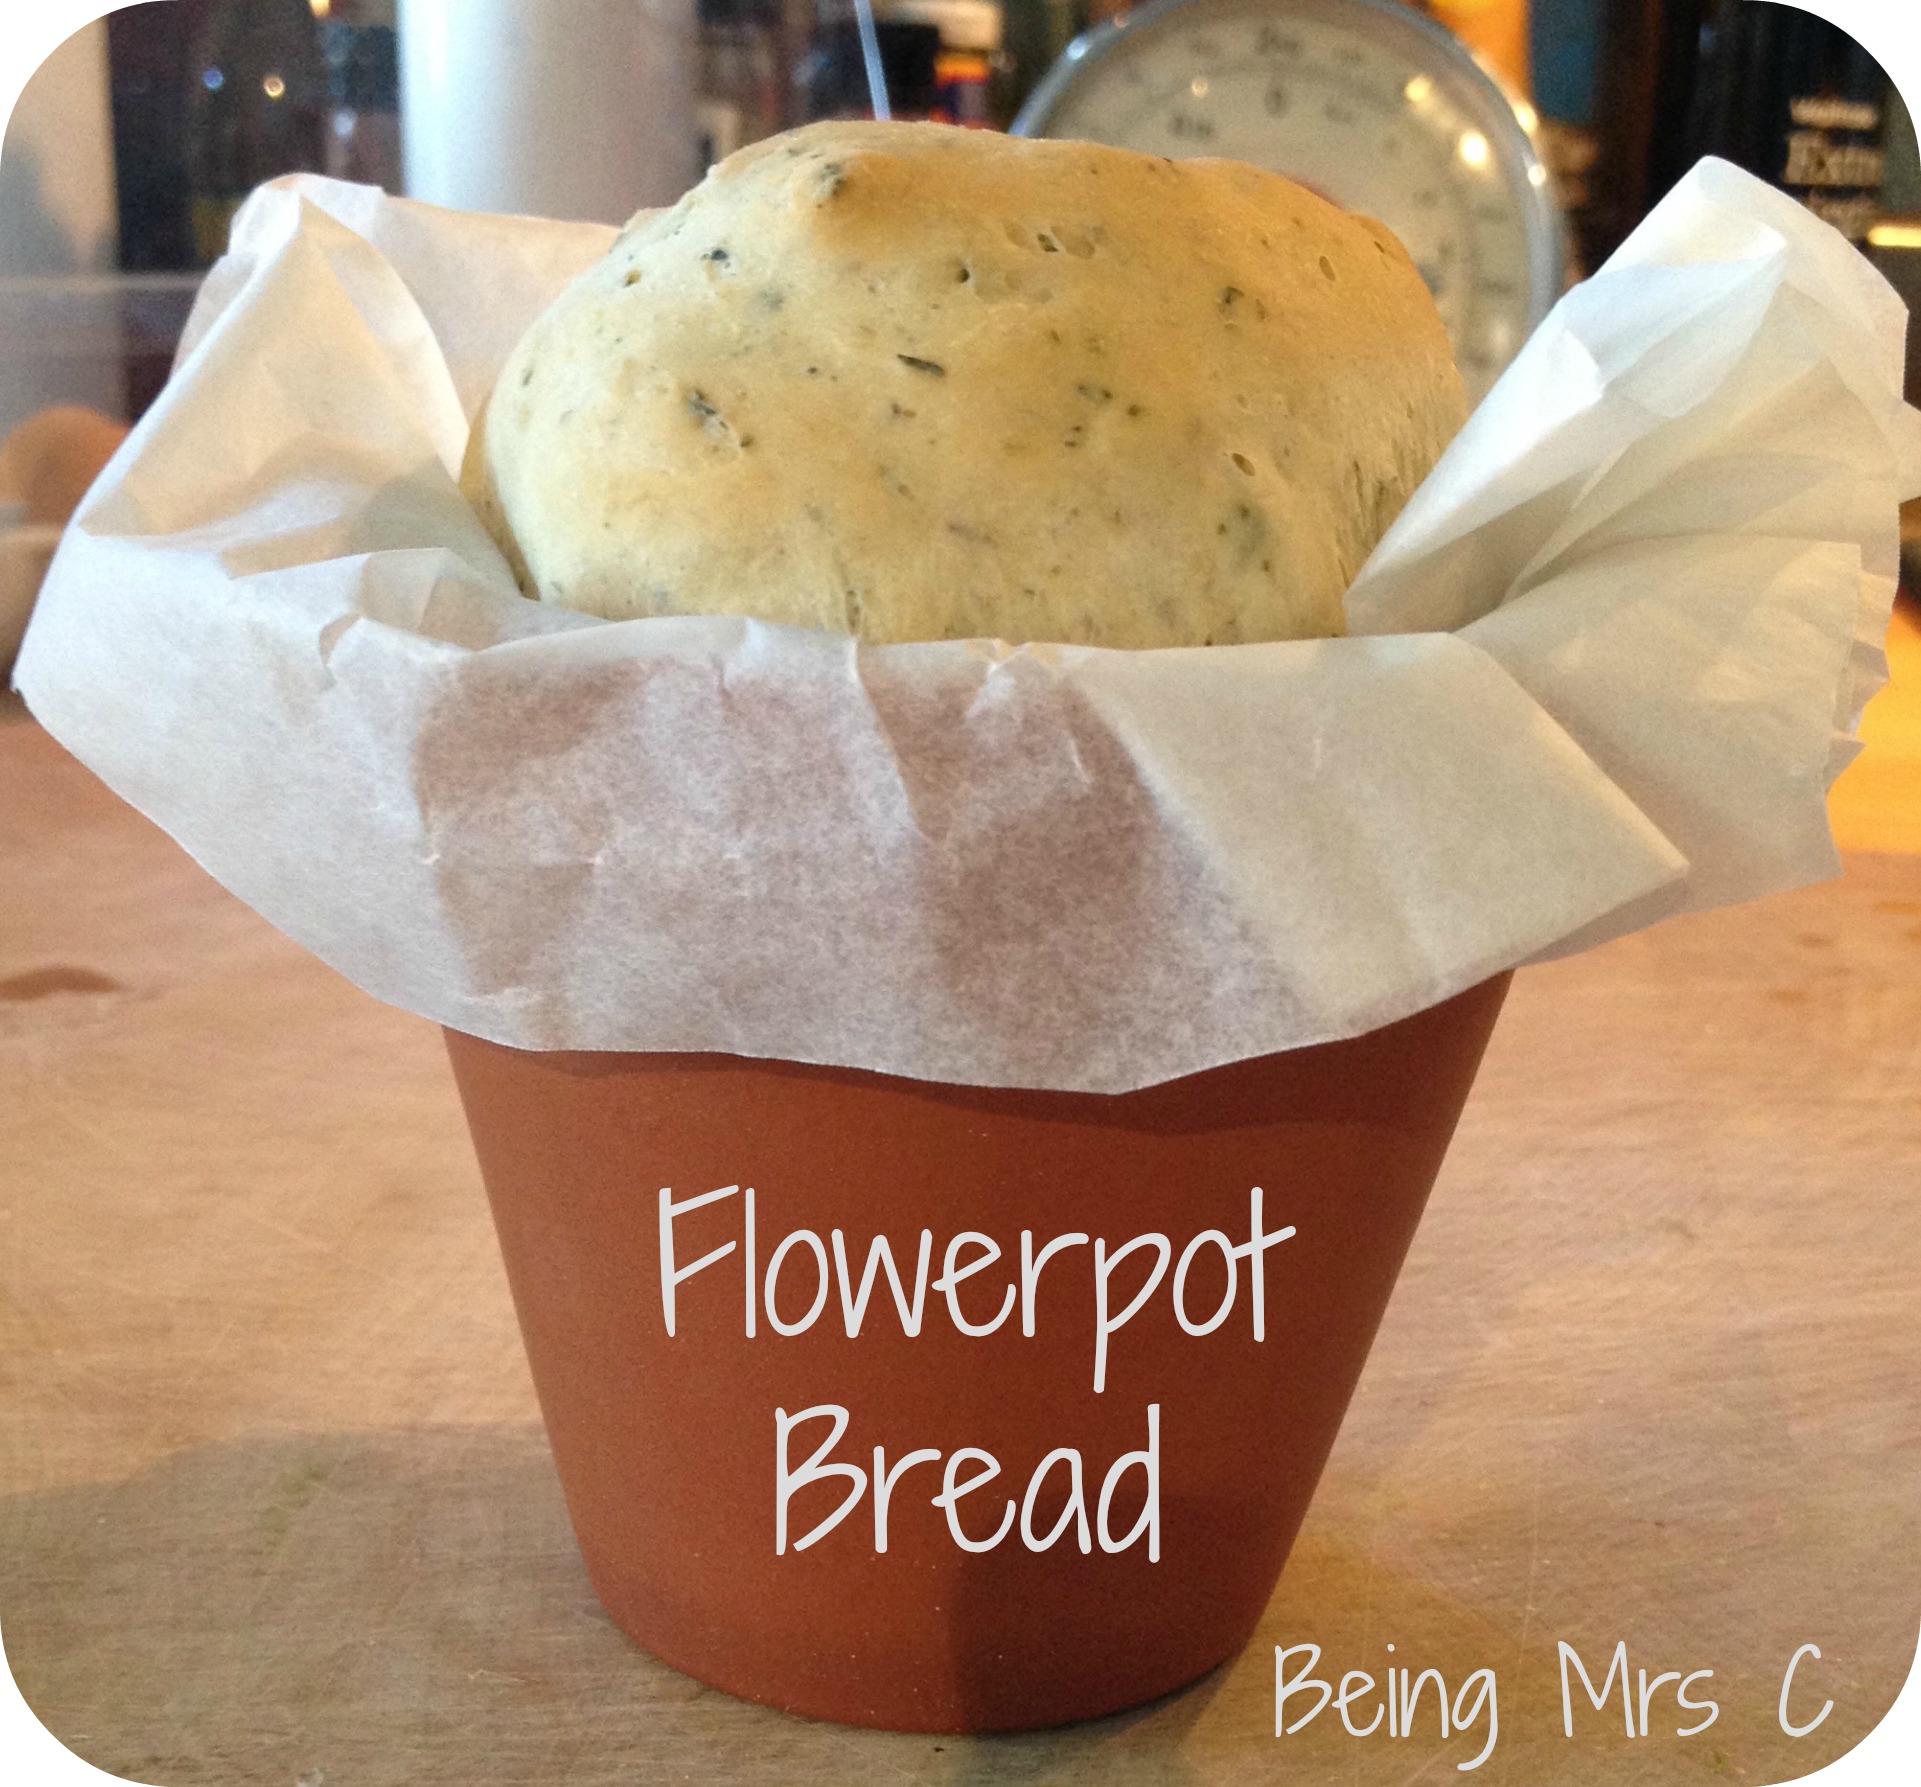
The idea’s quite simple really. You make bread, but rather than put it in a traditional bread tin or on a baking tray in the oven, you instead bake it in terracotta flowerpots. It’s incredibly easy to do and a great activity to do with kids, so here’s my how to guide.
What you need:
- Four small terracotta flowerpots – mine measured 9cm diameter across the top
(obviously the size and number of flowerpots you use determines how much of the ingredients you need)
- One packet of bread mix
or
- Strong white bread flour
- Dried yeast
- Salt
- Olive oil
- Honey
Plus
- Olive oil (to season the flowerpots)
- Greaseproof paper / baking parchment
You can obviously alter the bread recipe as you prefer to add herbs, seeds or anything else.
Season your flowerpots
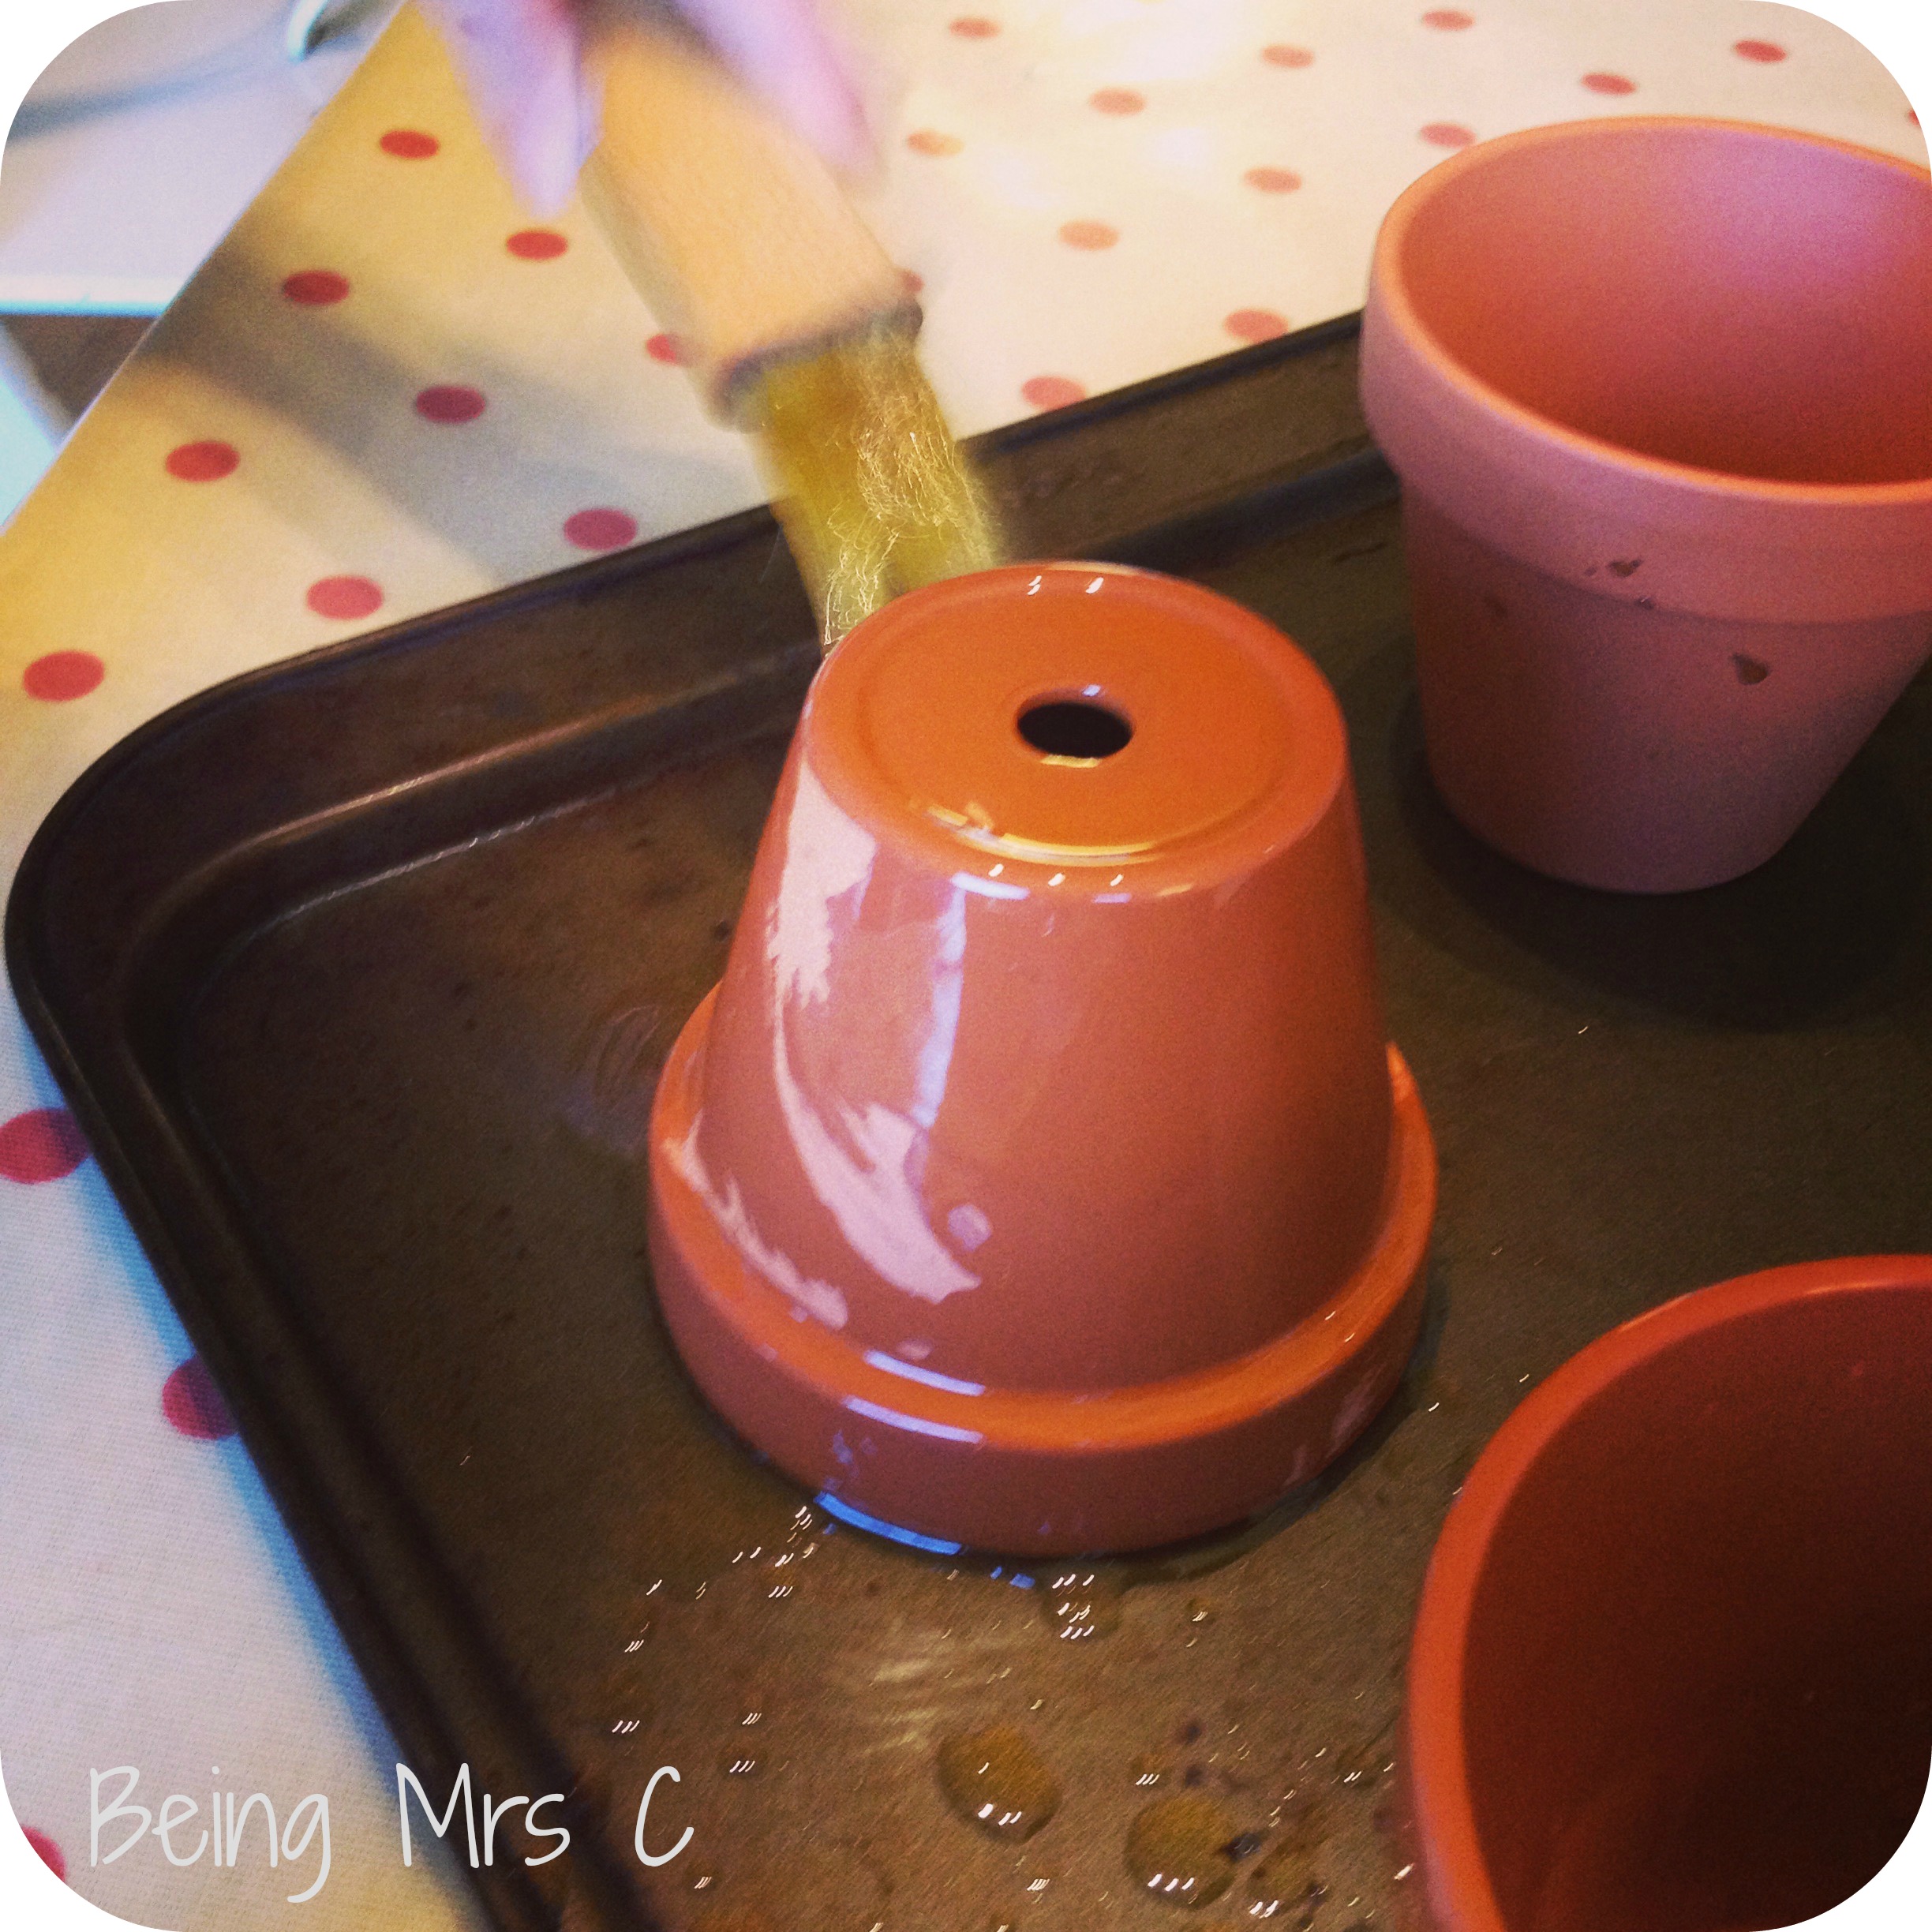
Pre-heat the oven to approx 190 degrees C and whilst it is heating up brush the flower pots (inside and out) with olive oil. I gave LMC a pastry brush to do this with and she thought it was a fun thing to do. Then pop them in the oven for about half an hour. We were then told to wash it with soapy water before using them, but interestingly other recipes tell you just to wipe them clean with a cloth. I don’t think you need to preseason every time you make bread, but to be honest LMC enjoyed doing it so much that I think I’d make it a regular part of the bread making experience.
Method
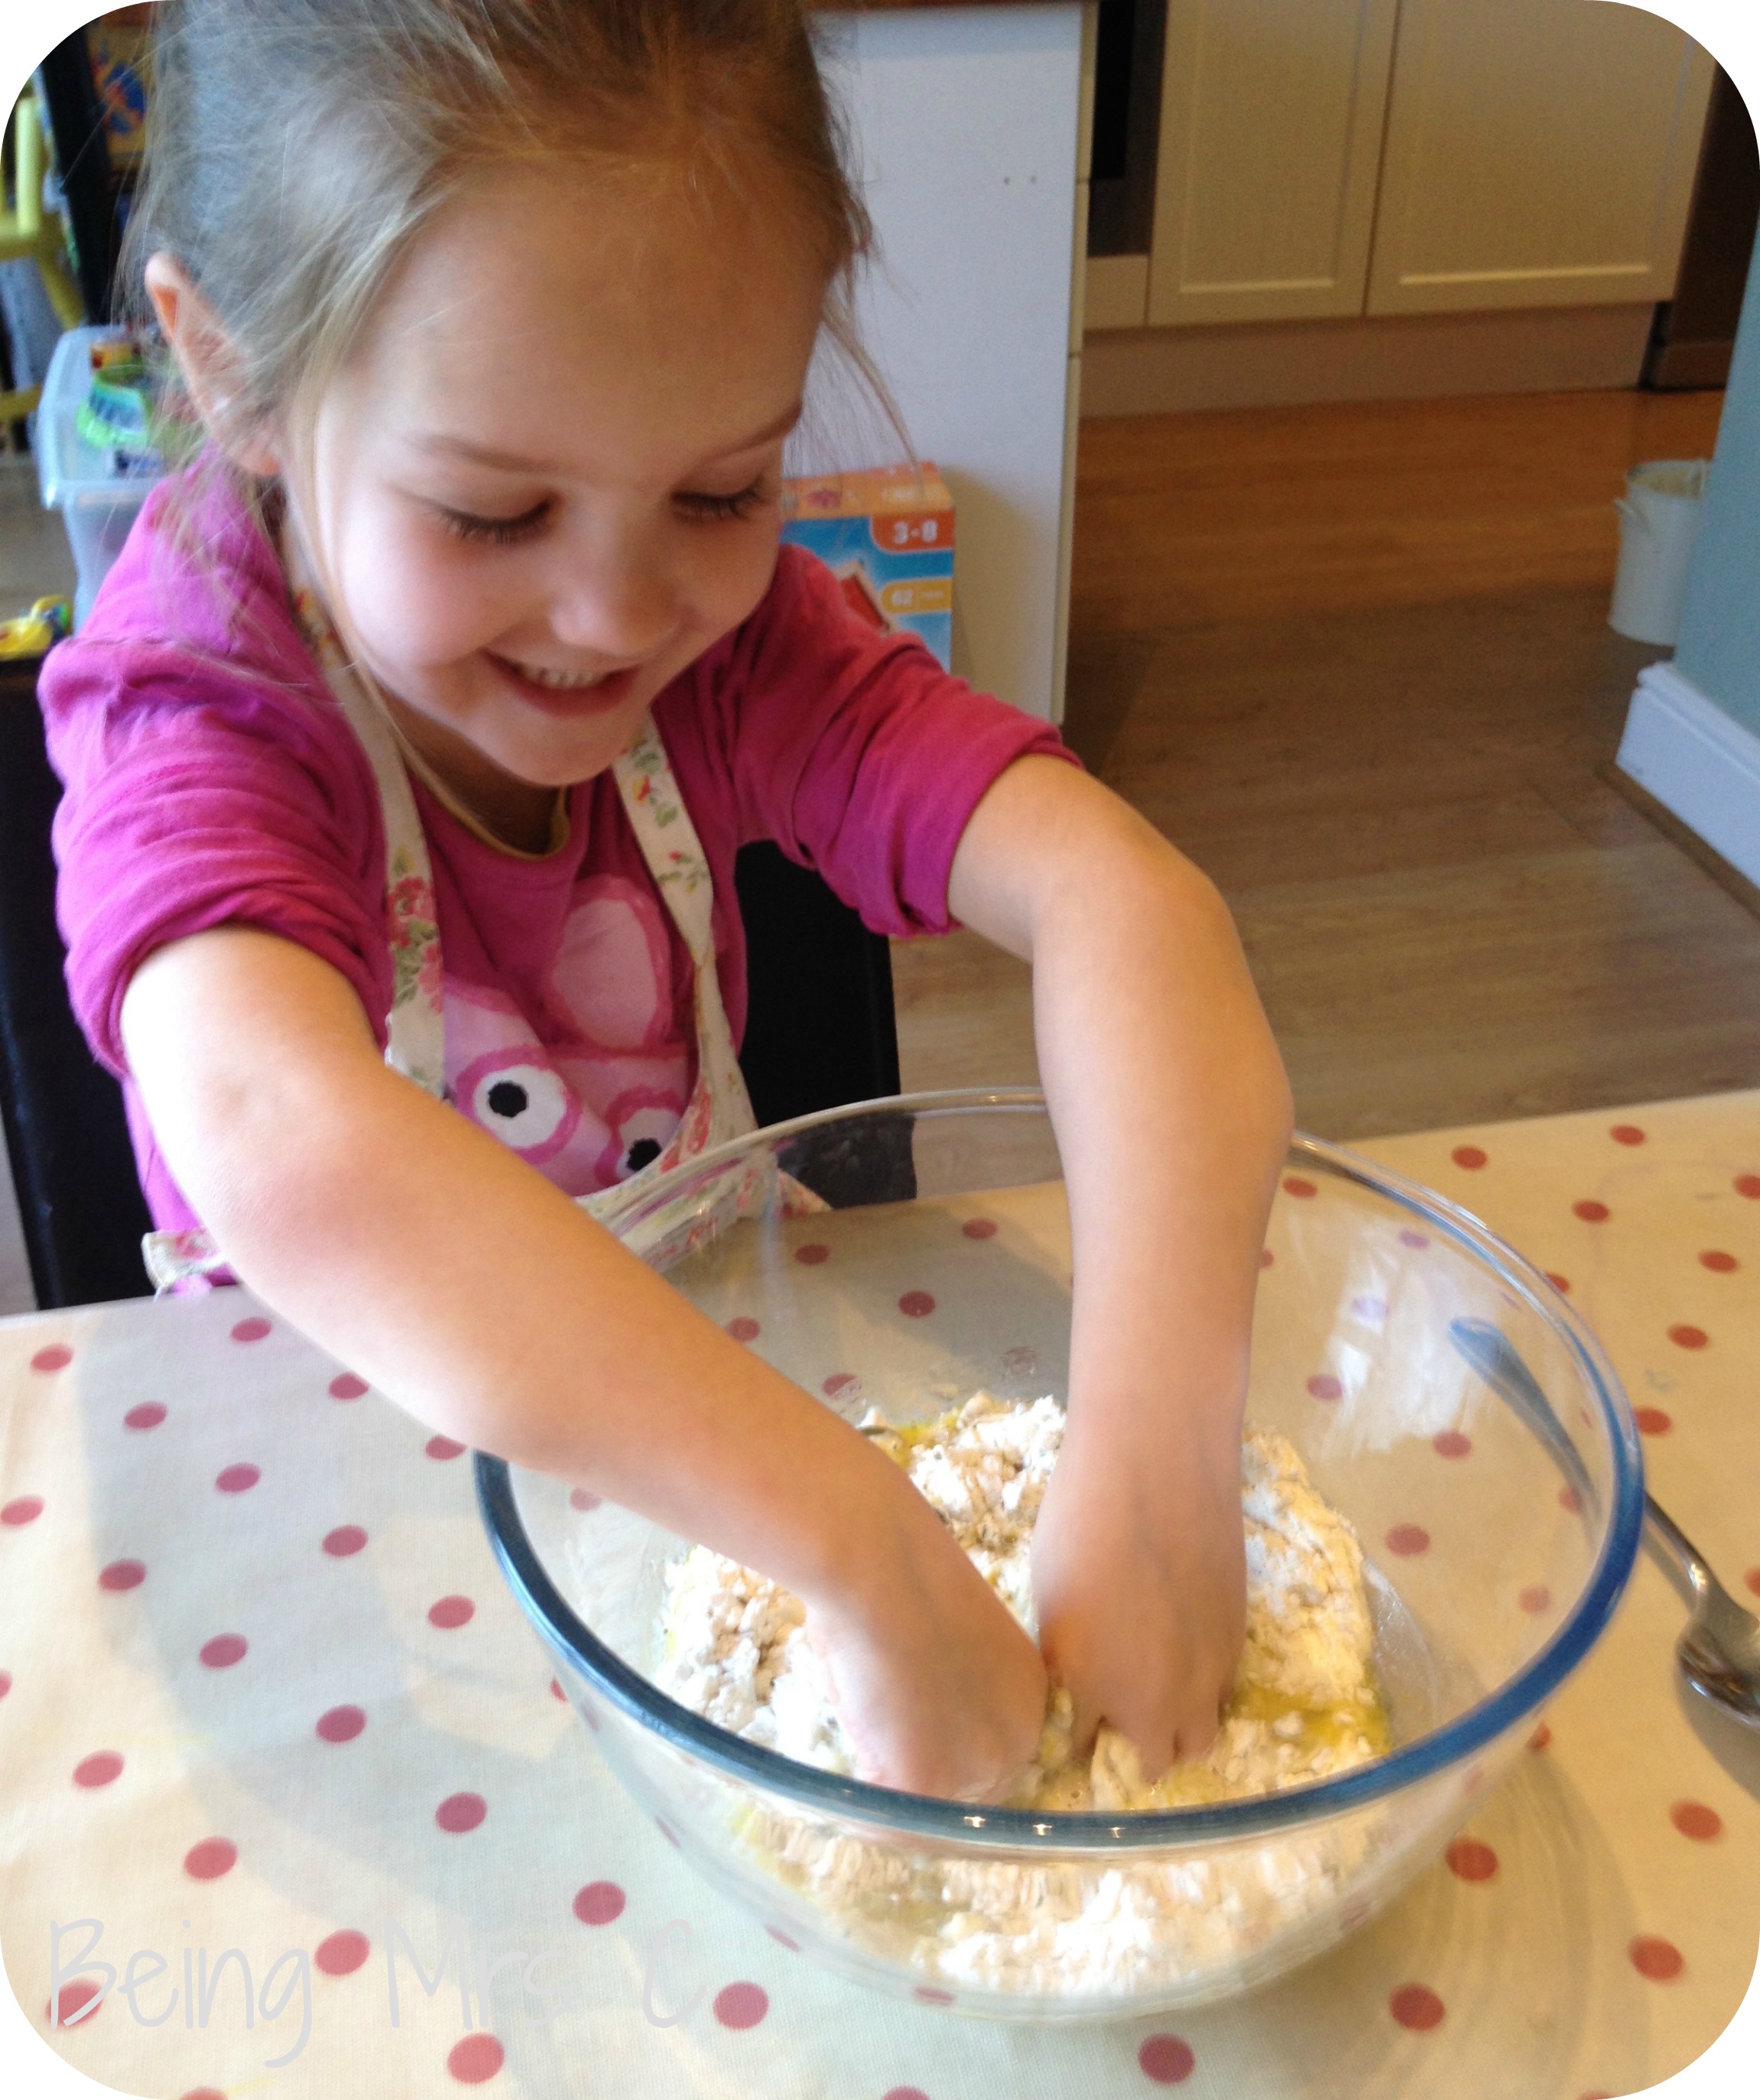
To start making the bread itself place either your mix packet, or all the dry ingredients into a bowl and make a well in the middle. Add the wet ingredients (for exact quantities take a look at this BBC Good Food recipe) and then mix by hand until all are incorporated.
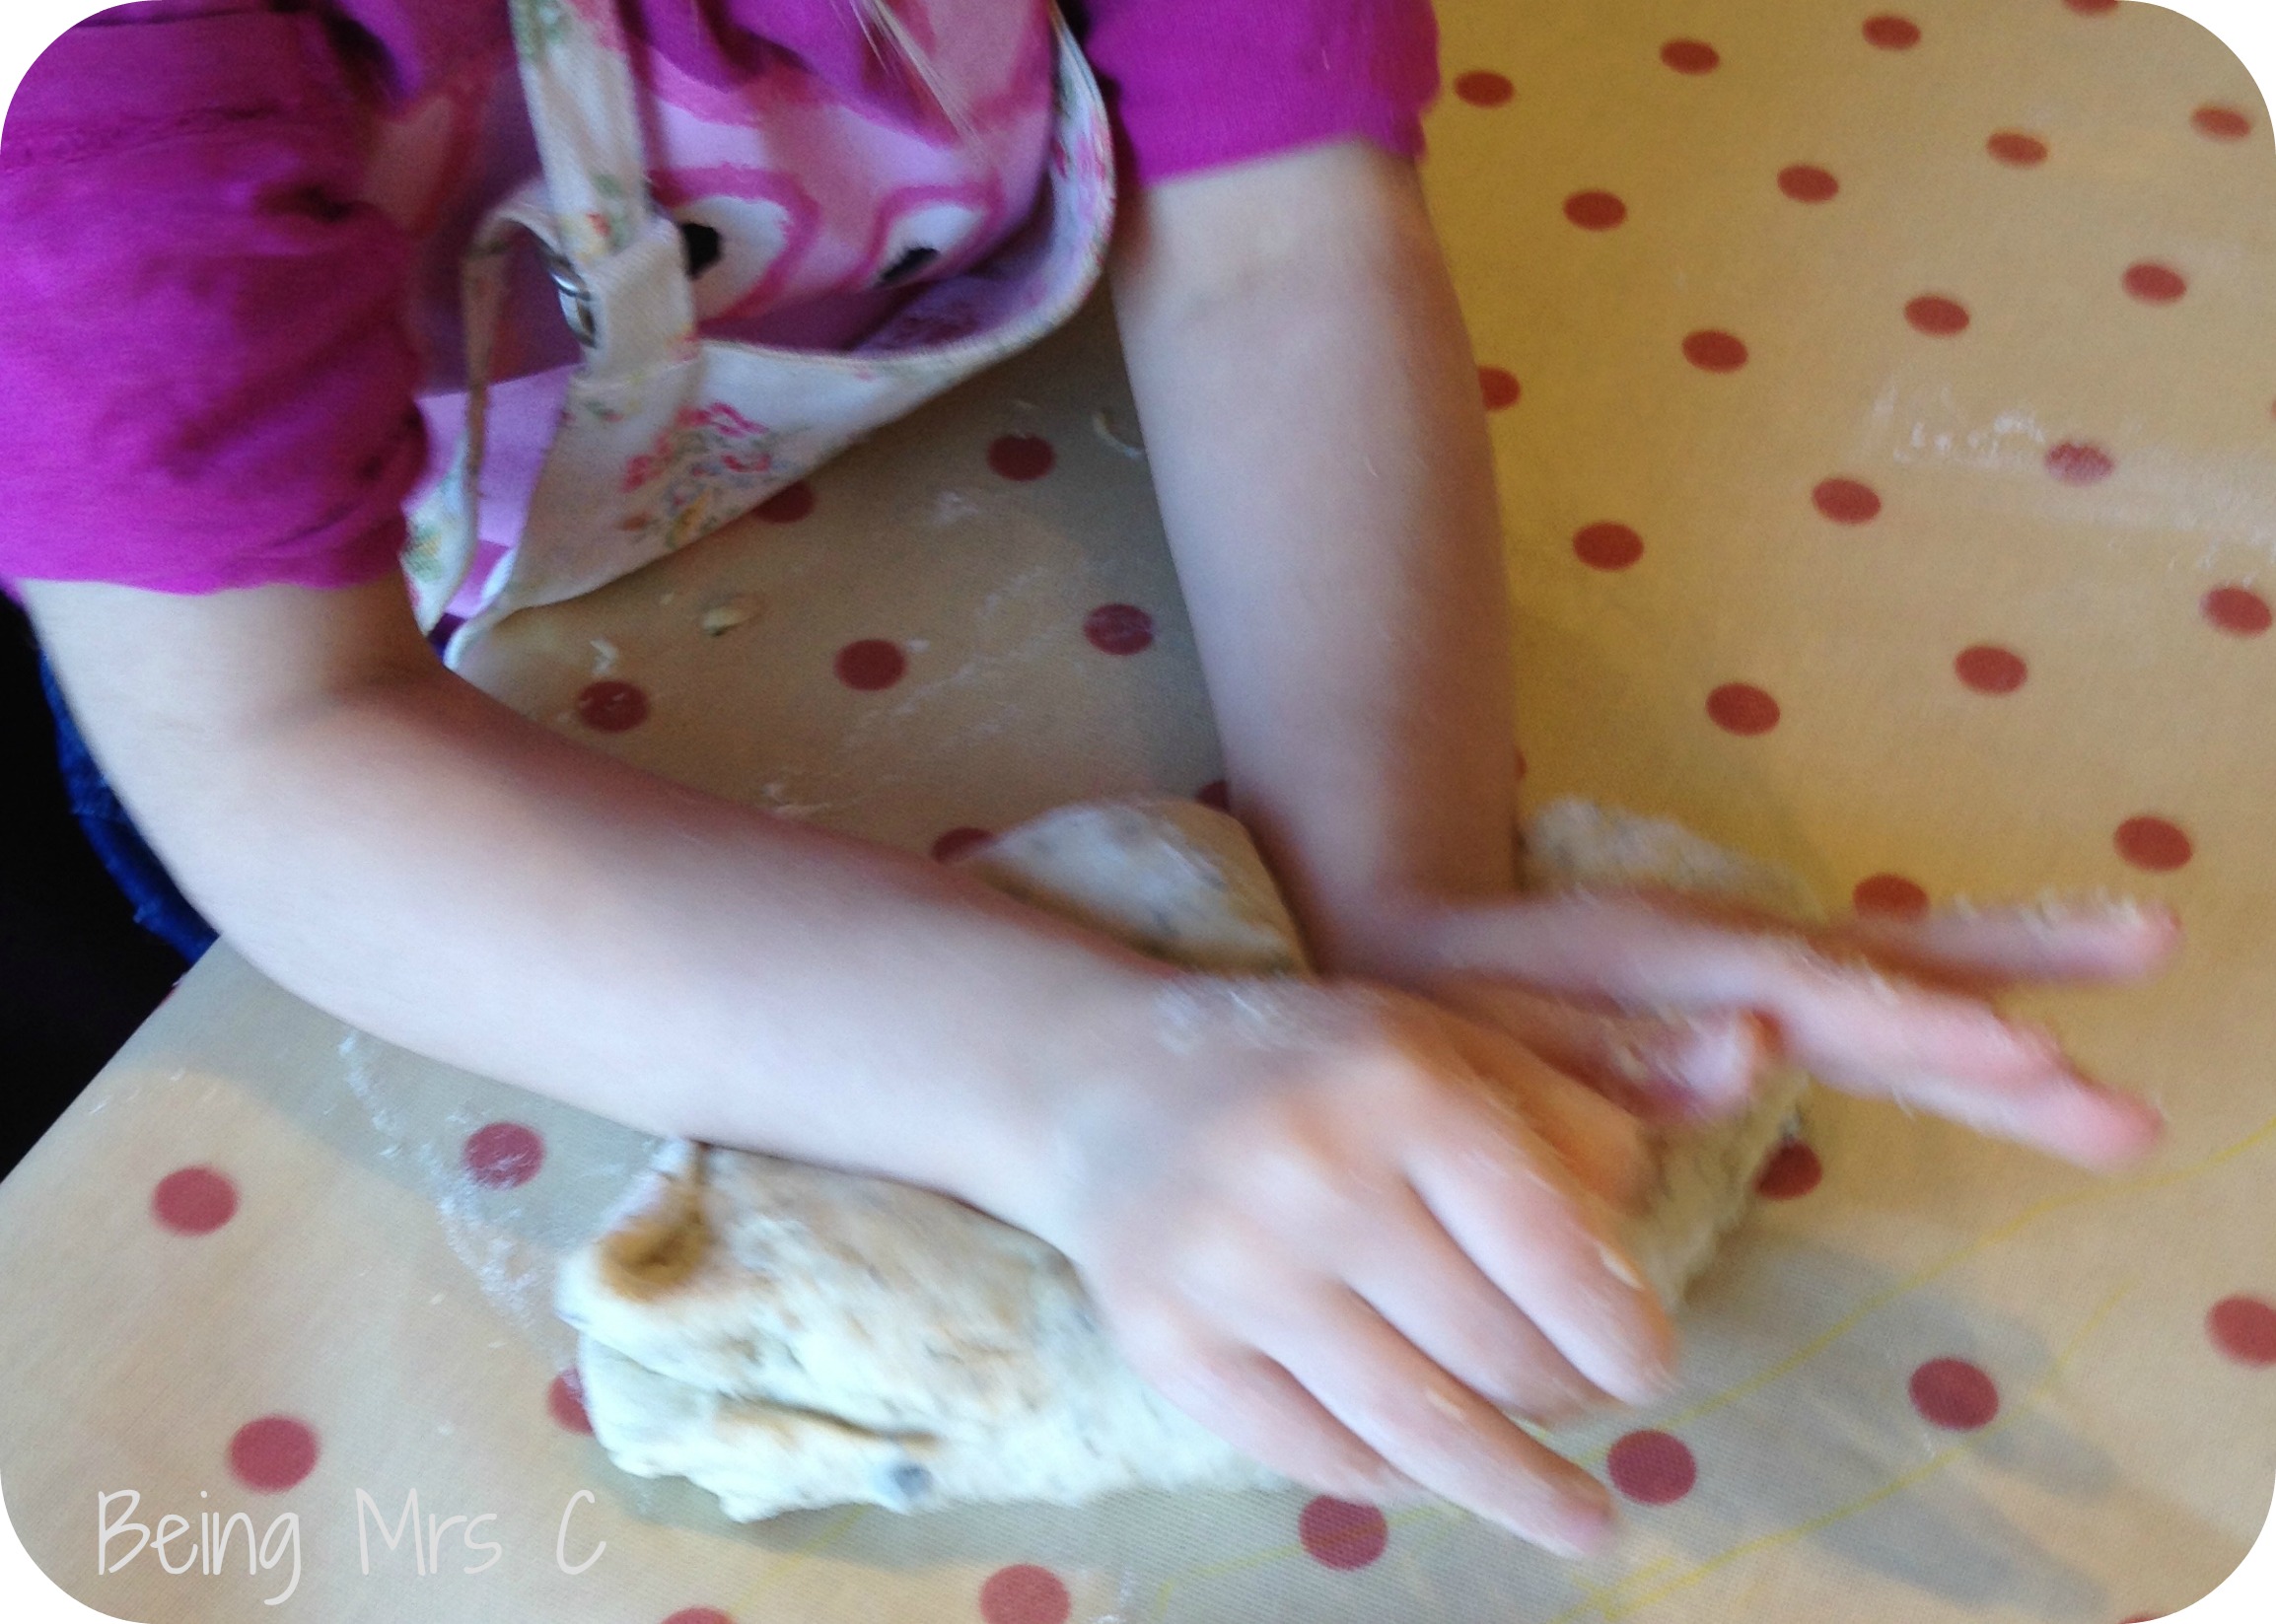
Tip the dough onto a floured work surface and knead it for about 15 minutes. By the end it should be smooth and springy. It’s highly unlikely that little hands will manage to do this for this long, nor have the strength in their hands to do it properly, but it’s a great way of helping them to develop hand and arm muscles. Be prepared to help them though.
Once your dough is ready split and shape it into four (or more as appropriate) small balls to fit in your flowerpots. Line each flower pot with greaseproof paper. Trim the paper to fit and fold and excess bits over the top edge.
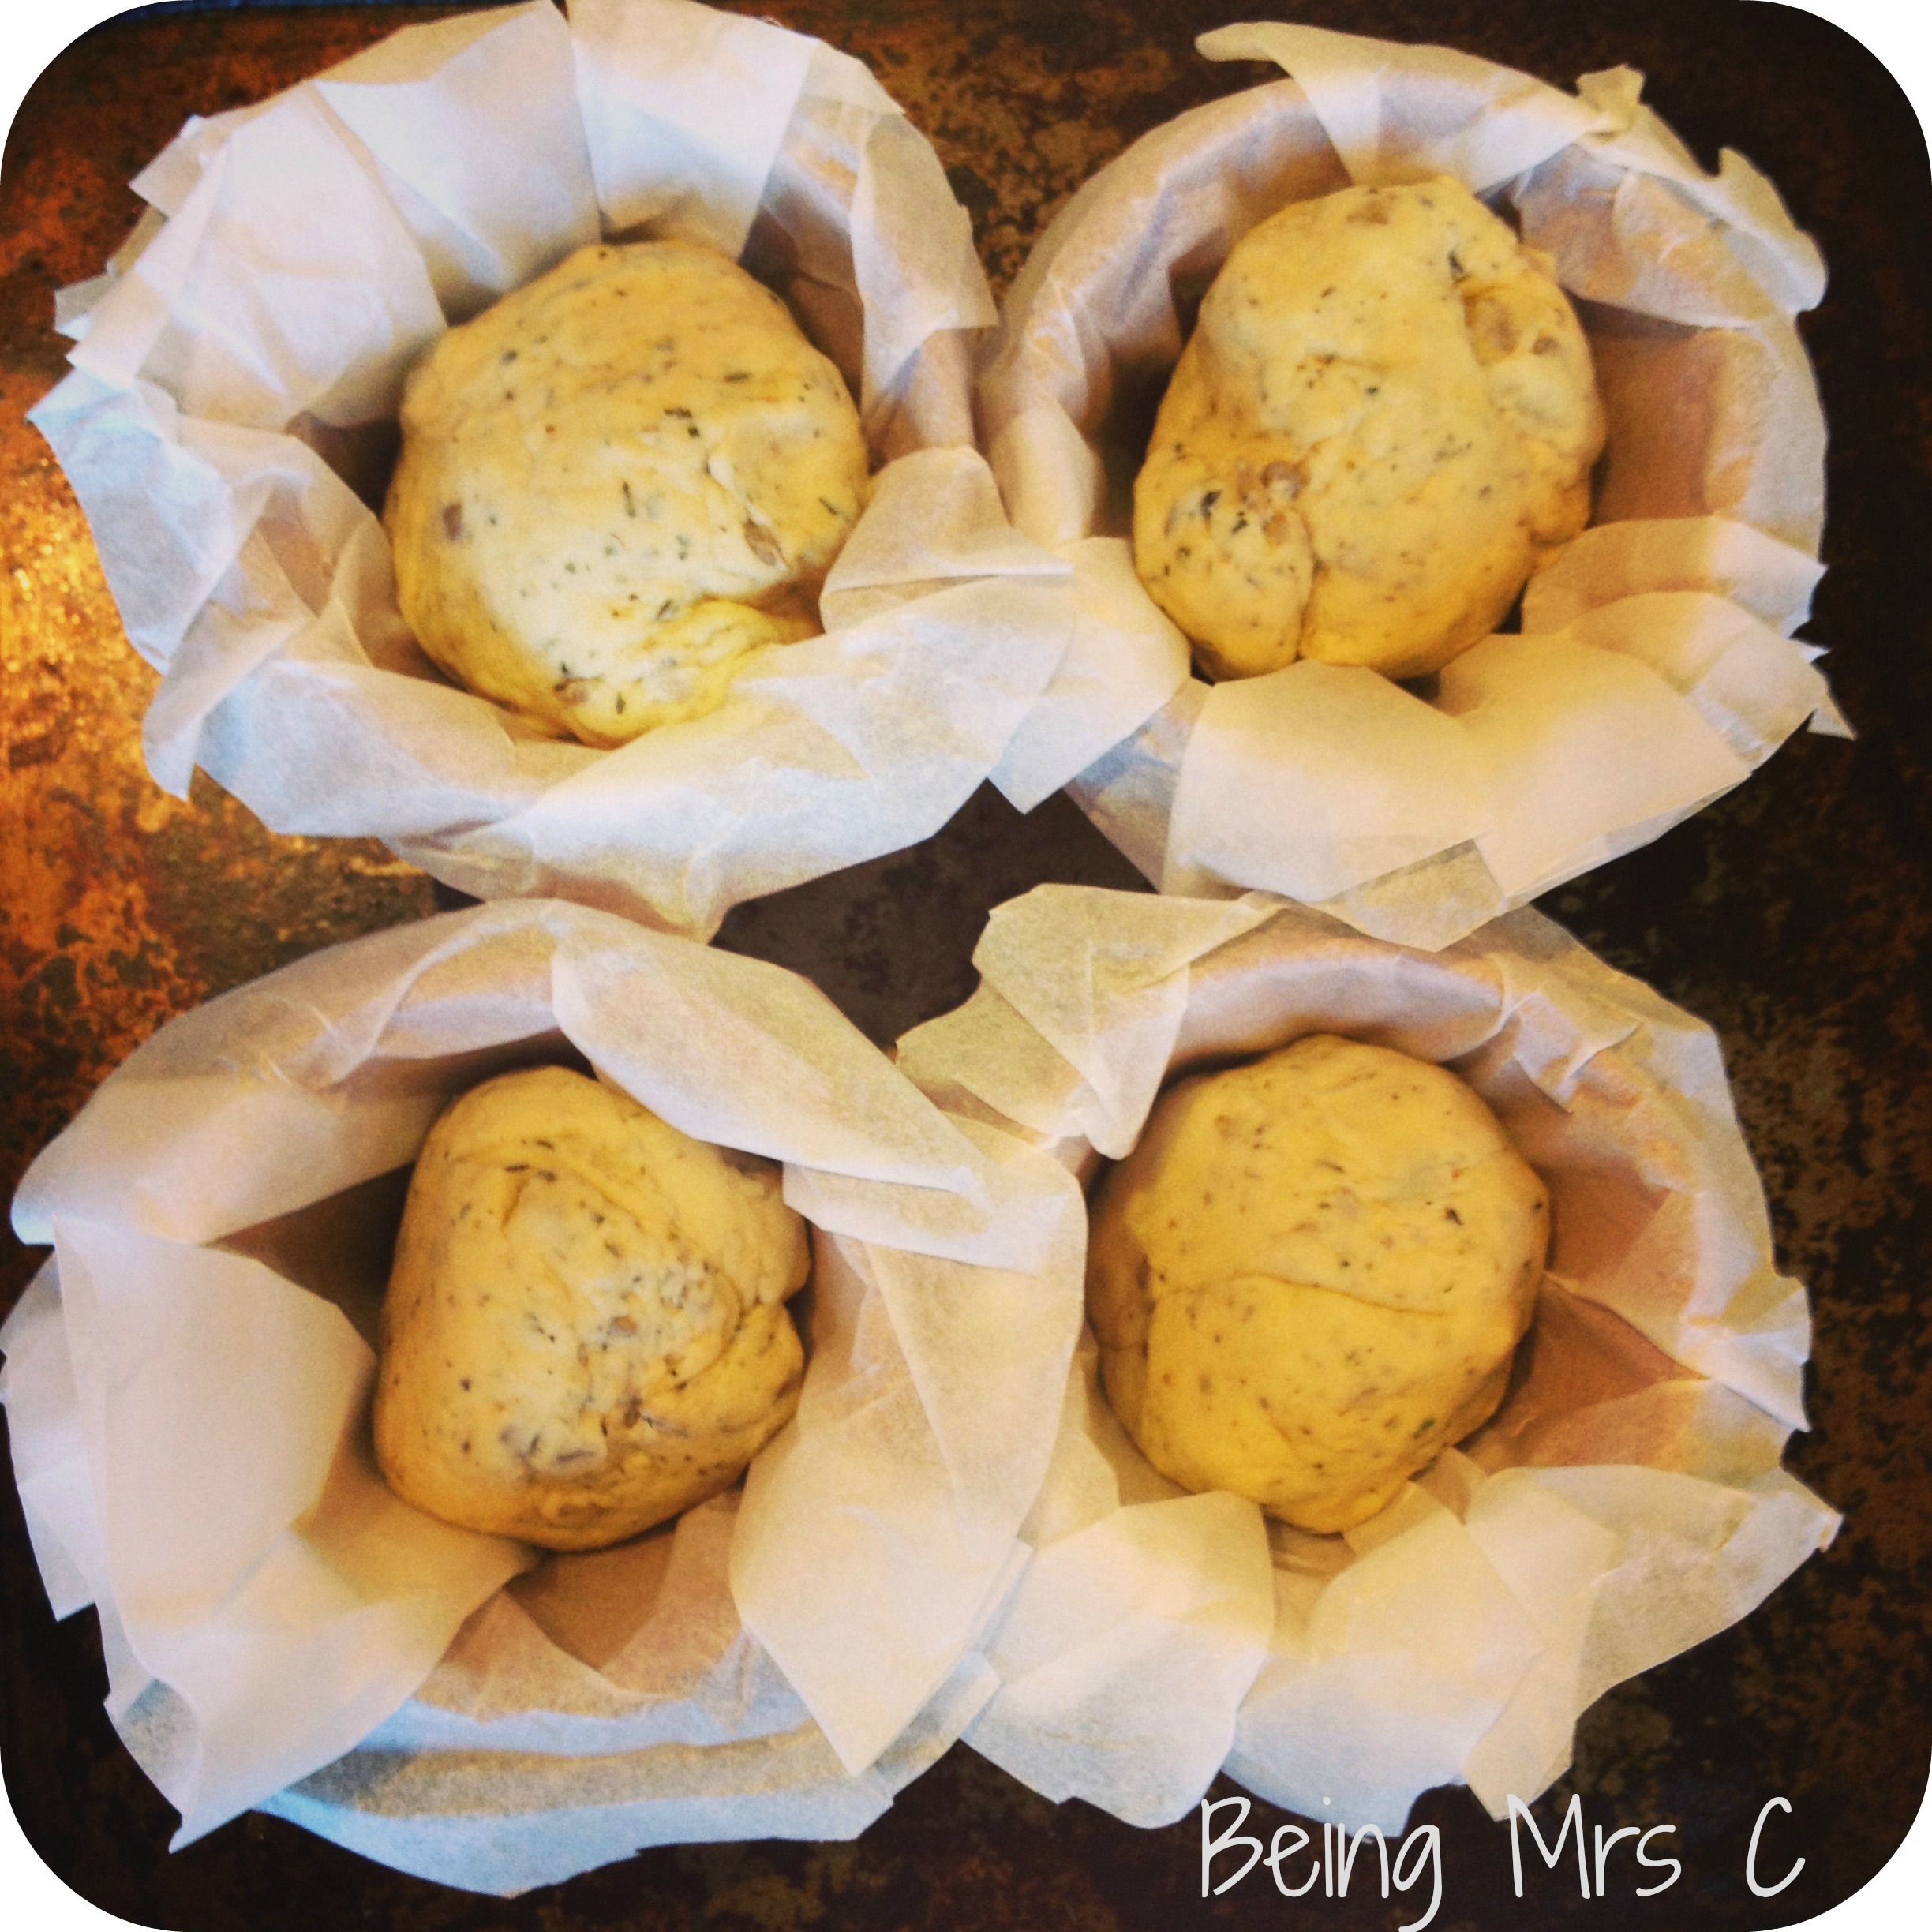
Place a ball of dough in each flowerpot. It should be the right size to sit in the bottom of the flowerpot and not come much higher than the inside of the top band on the pot.
Cover each pot with clingfilm and leave for an hour in a warm place for the dough to rise.
Remove the cling film, place the pots spread out on a baking try and bake at 180 degrees C for 20-25 minutes until golden and risen.
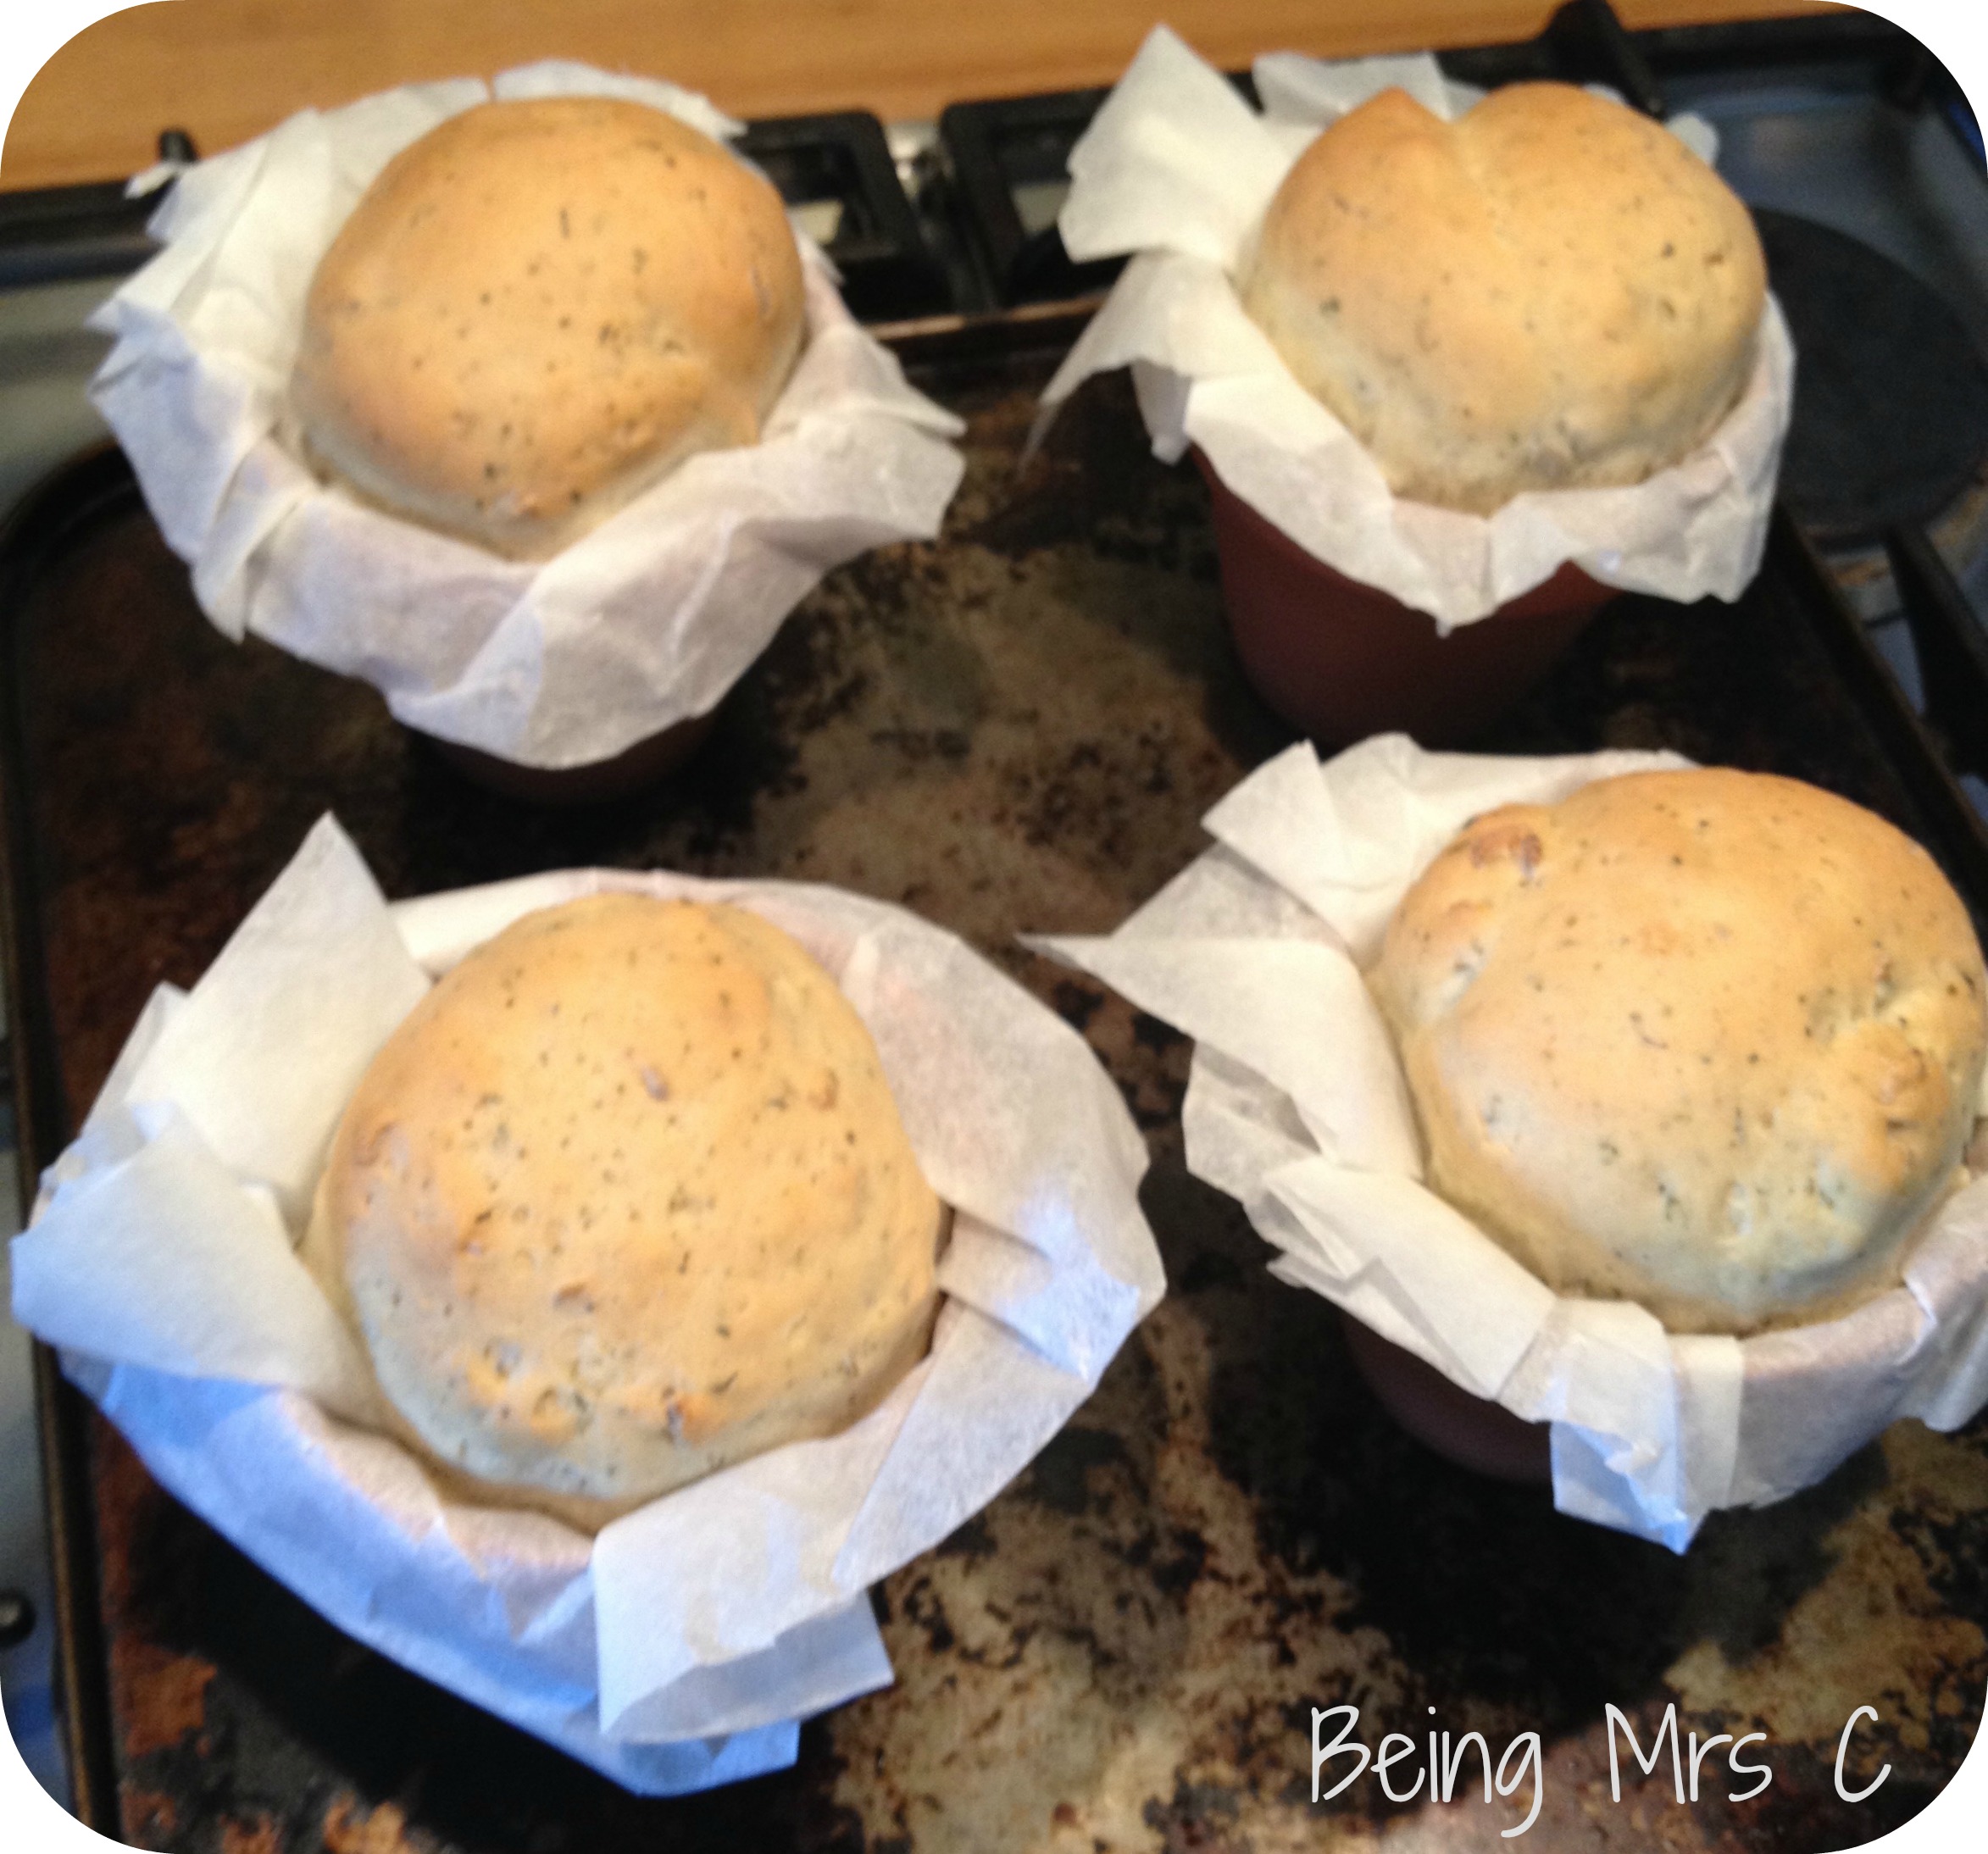
Once out of the oven, leave the pots to cool for at least 10 minutes before turning the bread out and eating it.
Enjoy!
Now the kids would love this Penny! Right I am off to hunt out some flowerpots from the garden *grabs lawnmower*
Maybe I need to add something in about washing the flowerpots before you start… 😉
What an awesome idea! Jacob will love this – I would use the bread mix but I know he will want to make it properly lol!
I’d expect nothing less with your little chef!
What a cute idea! And lovely for this time of year. Love the smell of freshly baked bread.
Me too – just makes a house smell so nice.
So clever! And well done for taking it on. If my kids got that as a present it would probably still be sitting in the cupboard a year later as I worked up to tackling it!
We have a few presents that are like that. Currently trying to get up the enthusiasm for a kit to make a blanket which involved knotting little tags all along the sides of lots of squares.
What a great idea to get kids involved in baking bread!
Totally!
I love this idea because not only would we make bread but then we’d have flower pots to plant flowers in too (I can reuse them right?)
You certainly can Joy – or you can save them and make more bread in them!
Totally saving this for later Penny! Noah would absolutely love this (and thanks for the bread mix tip too!)
You’re welcome!
That looks amazing – I love anything that gets children in the kitchen baking x x
Me too – it’s something I think I don’t do often enough with my two.
Mine have suddenly got into making bread, I was teaching them to make cottage loaves and plaits like my mum used to, these are so sweet 🙂
Ah – advanced stuff! I made a promise to myself to use my bread maker more this year, but the only loaf I’ve tried so far was a complete disaster as I think the yeast was finished. Must try again.