As anyone who knows me in real life will tell you, I’m brilliant at starting craft projects, but when it comes to finishing them it’s another story entirely. The house (and cabin at the bottom of the garden) are full of unfinished projects (over 41 at the last count – but shhhh don’t tell my husband) and the situation has been getting a bit out of hand lately. And I daren’t even count how many project I’ve got everything for, but haven’t yet started.
It’s not that I don’t want to finish them, it’s just that I either run out of time or something more exciting comes along and they’re abandoned in favour of it. I’m trying desperately to change though and I’m determined that I’m not allowed to start anything new without finishing something in the same craft first.
I’m still to complete the cot bed patchwork quilt that I seem to have been working on forever, but the diary dictated that something else had to be done first – a sewn advent calendar for Little Miss C.
Ever since her first Christmas I’ve been determined that she needs to have something handmade for Christmas (in fact both kids do, but I’m giving myself until next year to do something for Master C) and finally at this year’s Knitting and Stitching Show I found the perfect thing.

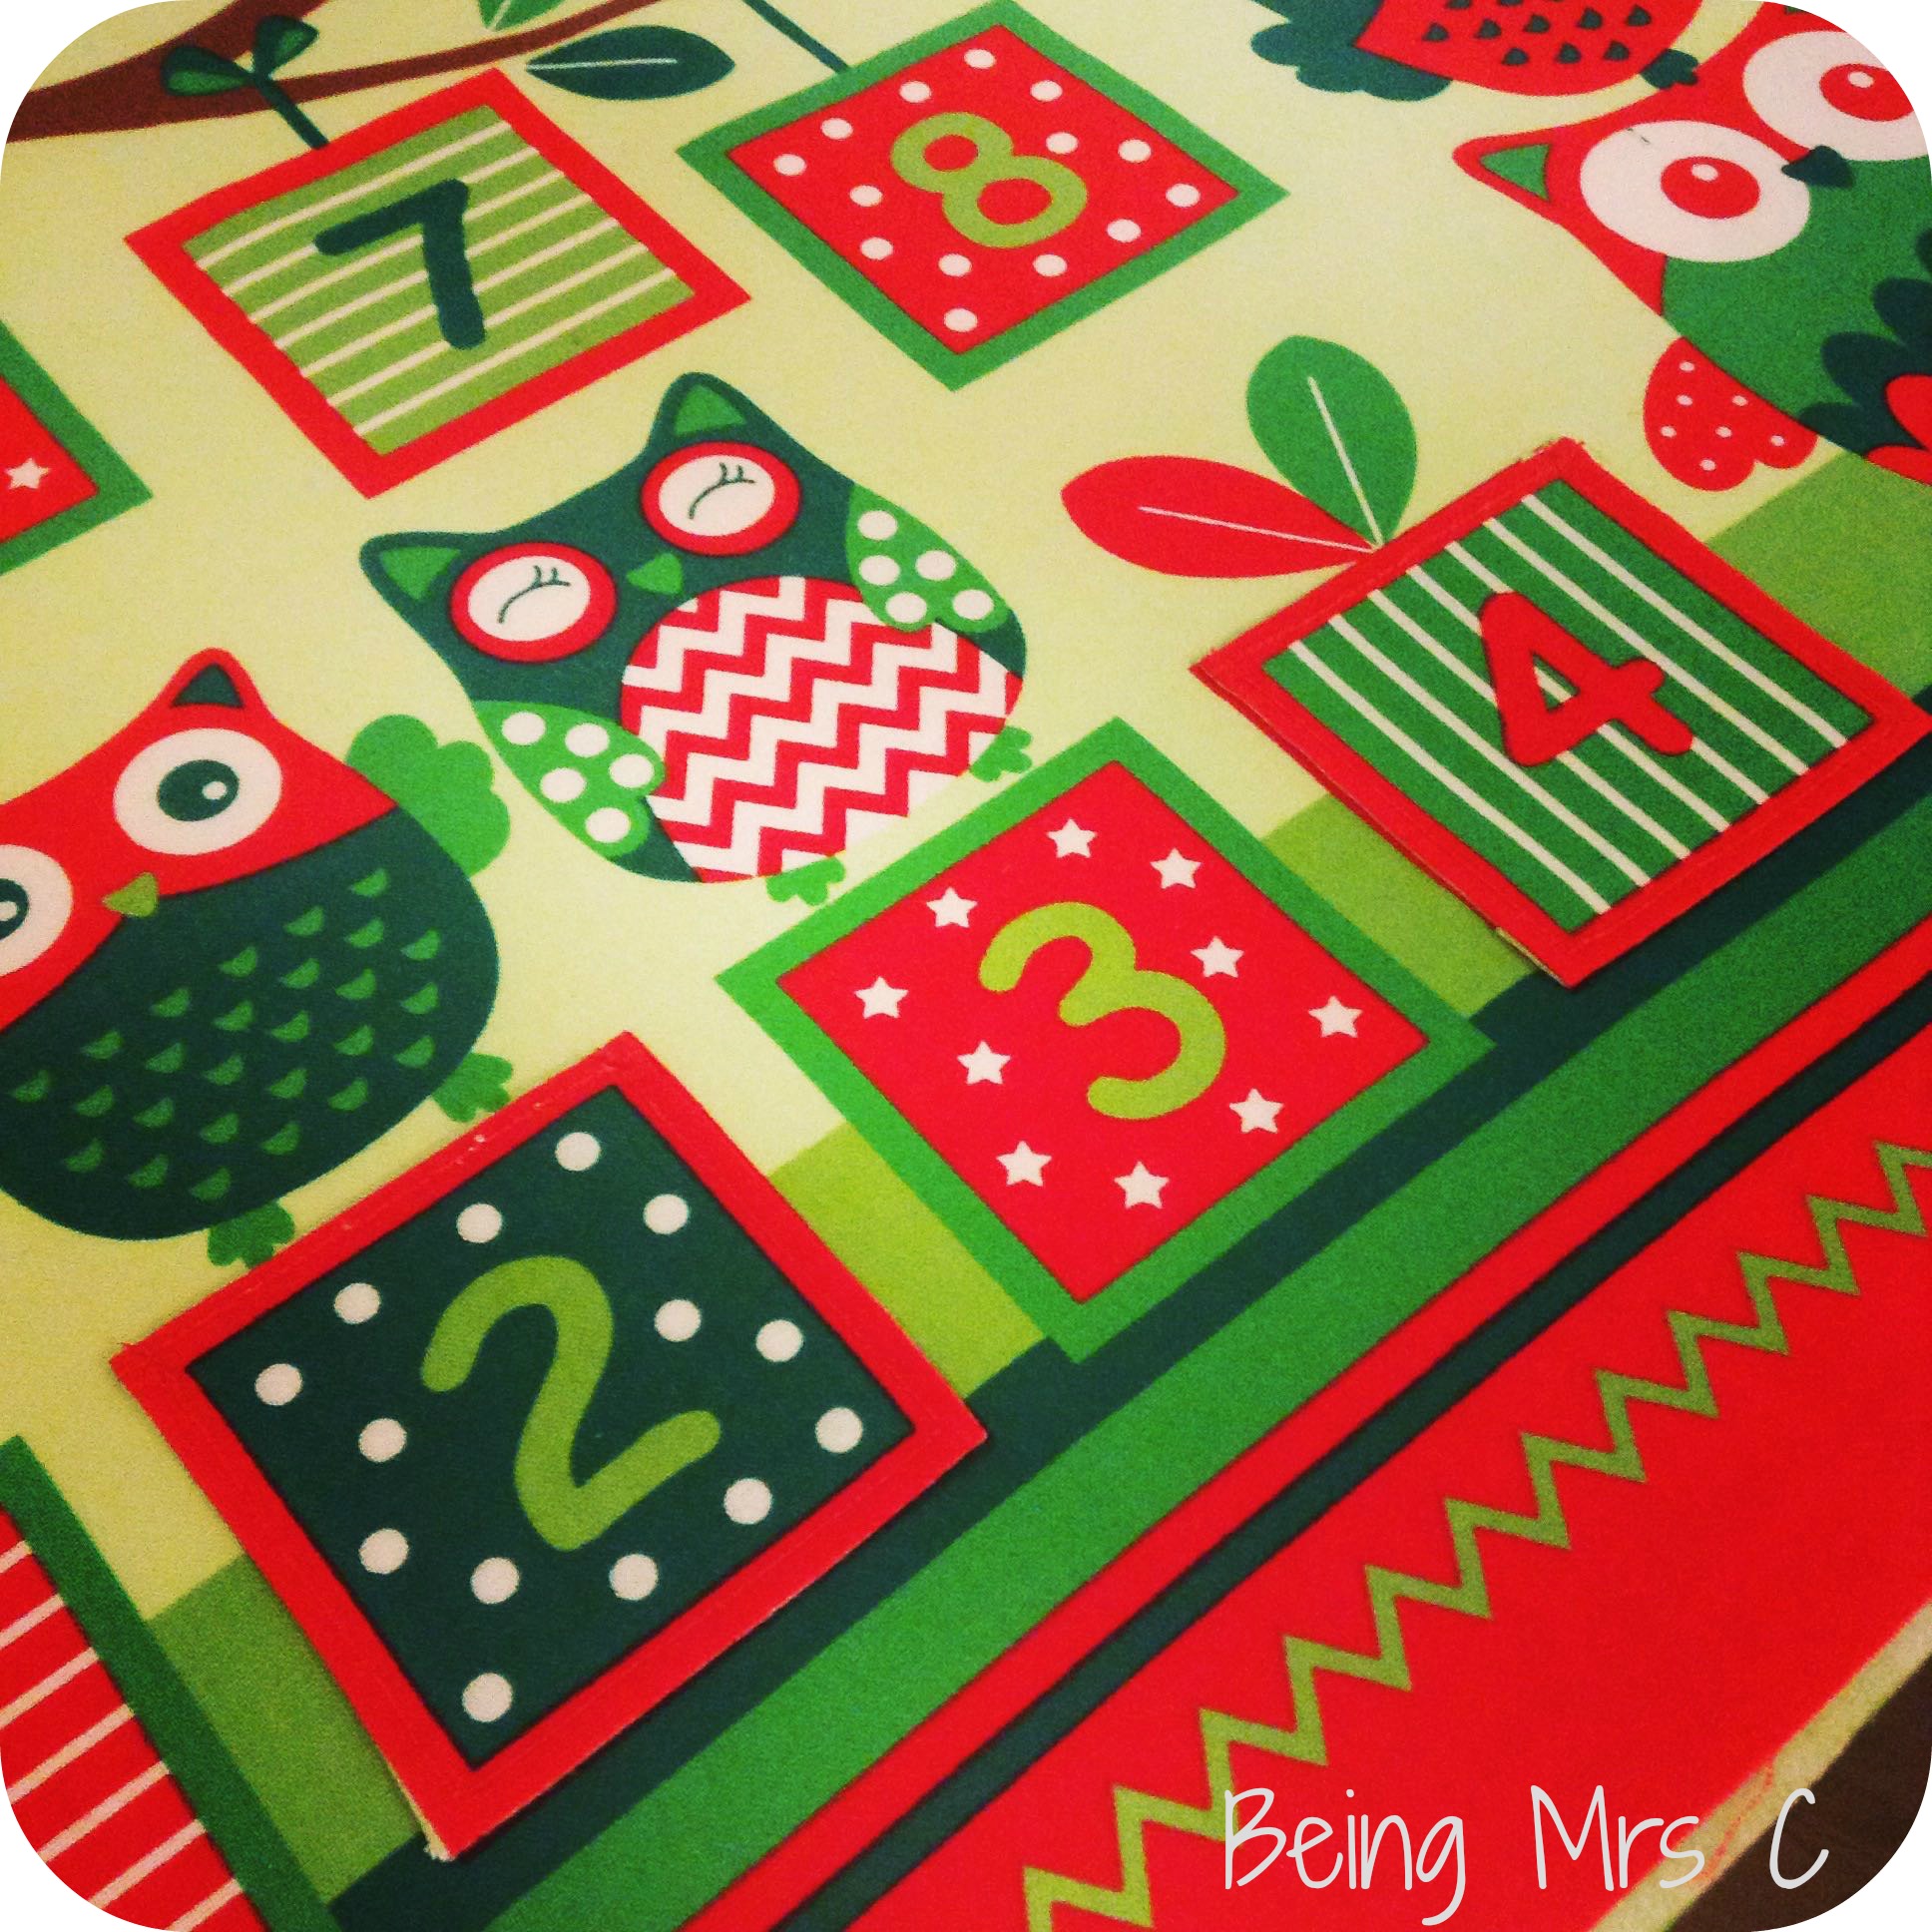
I bought this panel to make a delightful owl advent calendar (not the people I bought mine from, but the same one is available online here) and was convinced that it wouldn’t take too much work. Oh how I laugh at that now.
What you need to do isn’t that complicated, but it does take a little while. Firstly you cut out the main panel and also 24 separate pockets that need to be sewn on to the panel. I knew that I wanted to back my calendar (you don’t have to if you don’t want to) so I also bought some plain green material to back it, and a large piece of iron on interfacing to help stiffen it from my local haberdashery shop.
I ironed on the interfacing to the main panel and then set about preparing the pockets. For each one I needed to turn over and hem the top edge and then turn over the other three sides and pin in place on the main panel. It was then just a case of sewing round the three edges to hold it in place. I say “just” but actually this was the most time consuming part. As the panel is quite big you had to scrunch it up a bit when feeding it through the sewing machine and if you try to do that with lots of pins in it then you end up stabbing yourself no matter how hard you try not to.
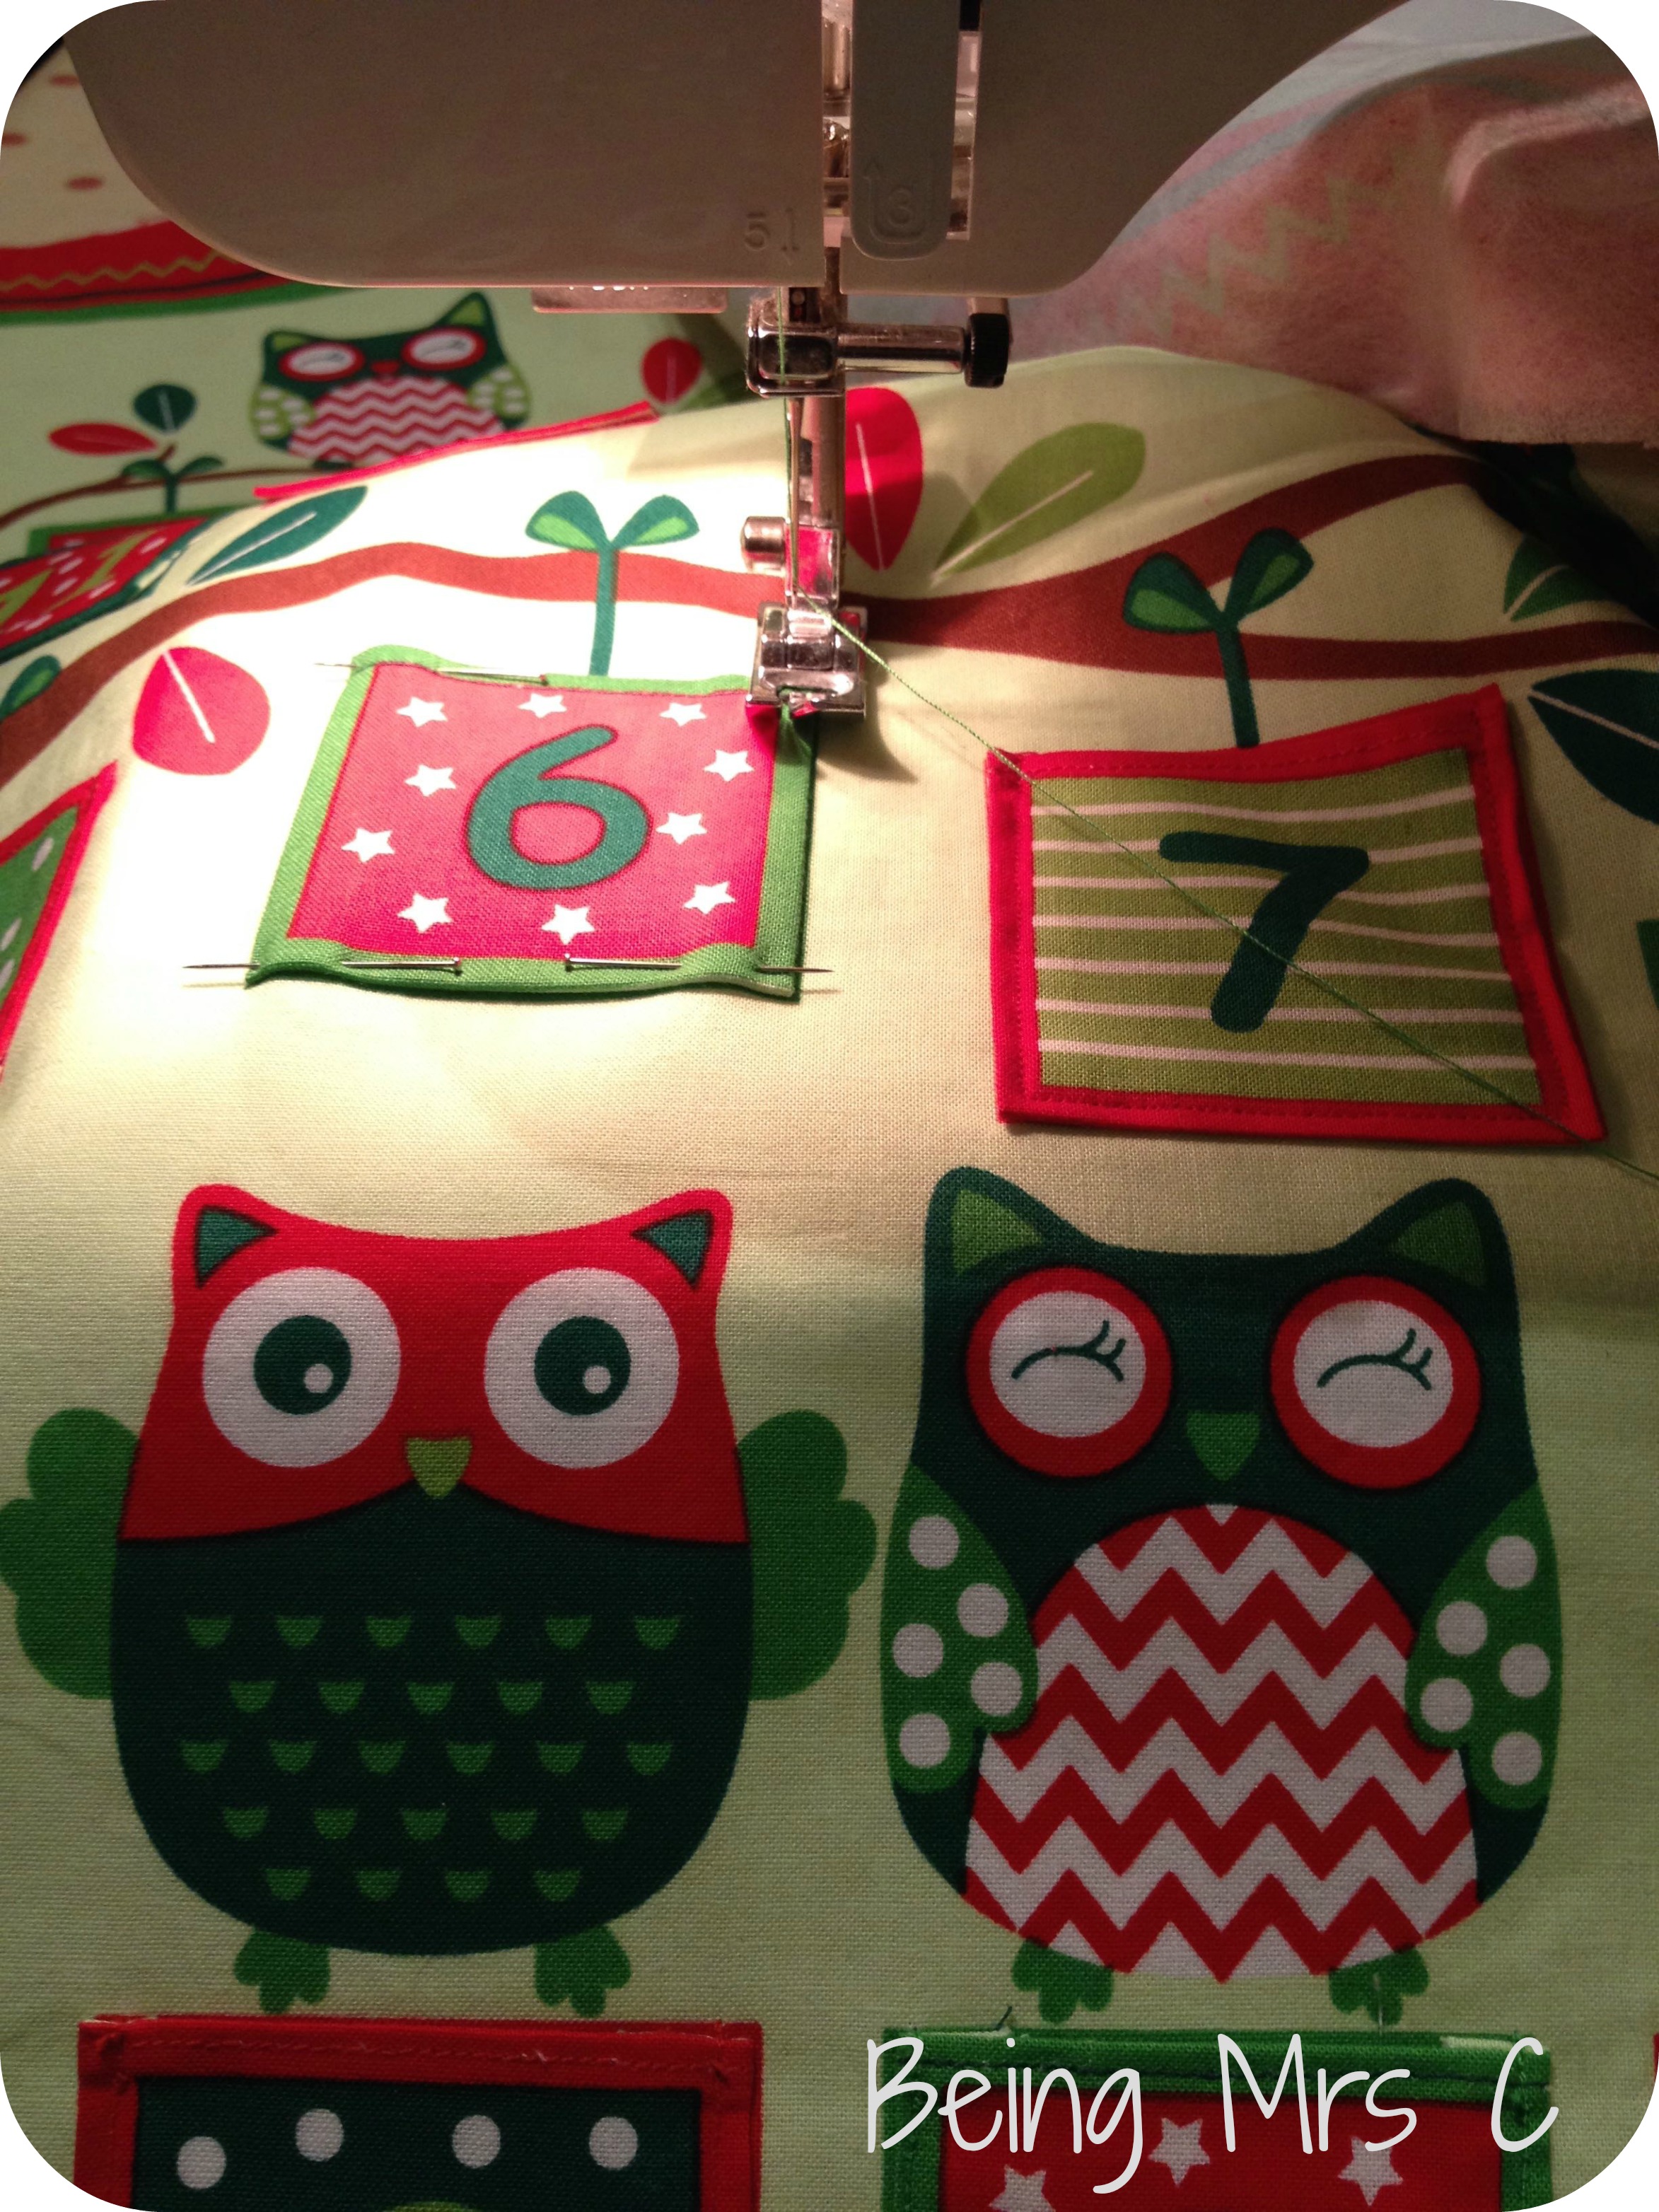
After a bit of trial and error I found it easier to just pin one pocket at a time and then sew it before attempting the next one. Time consuming, but easier.
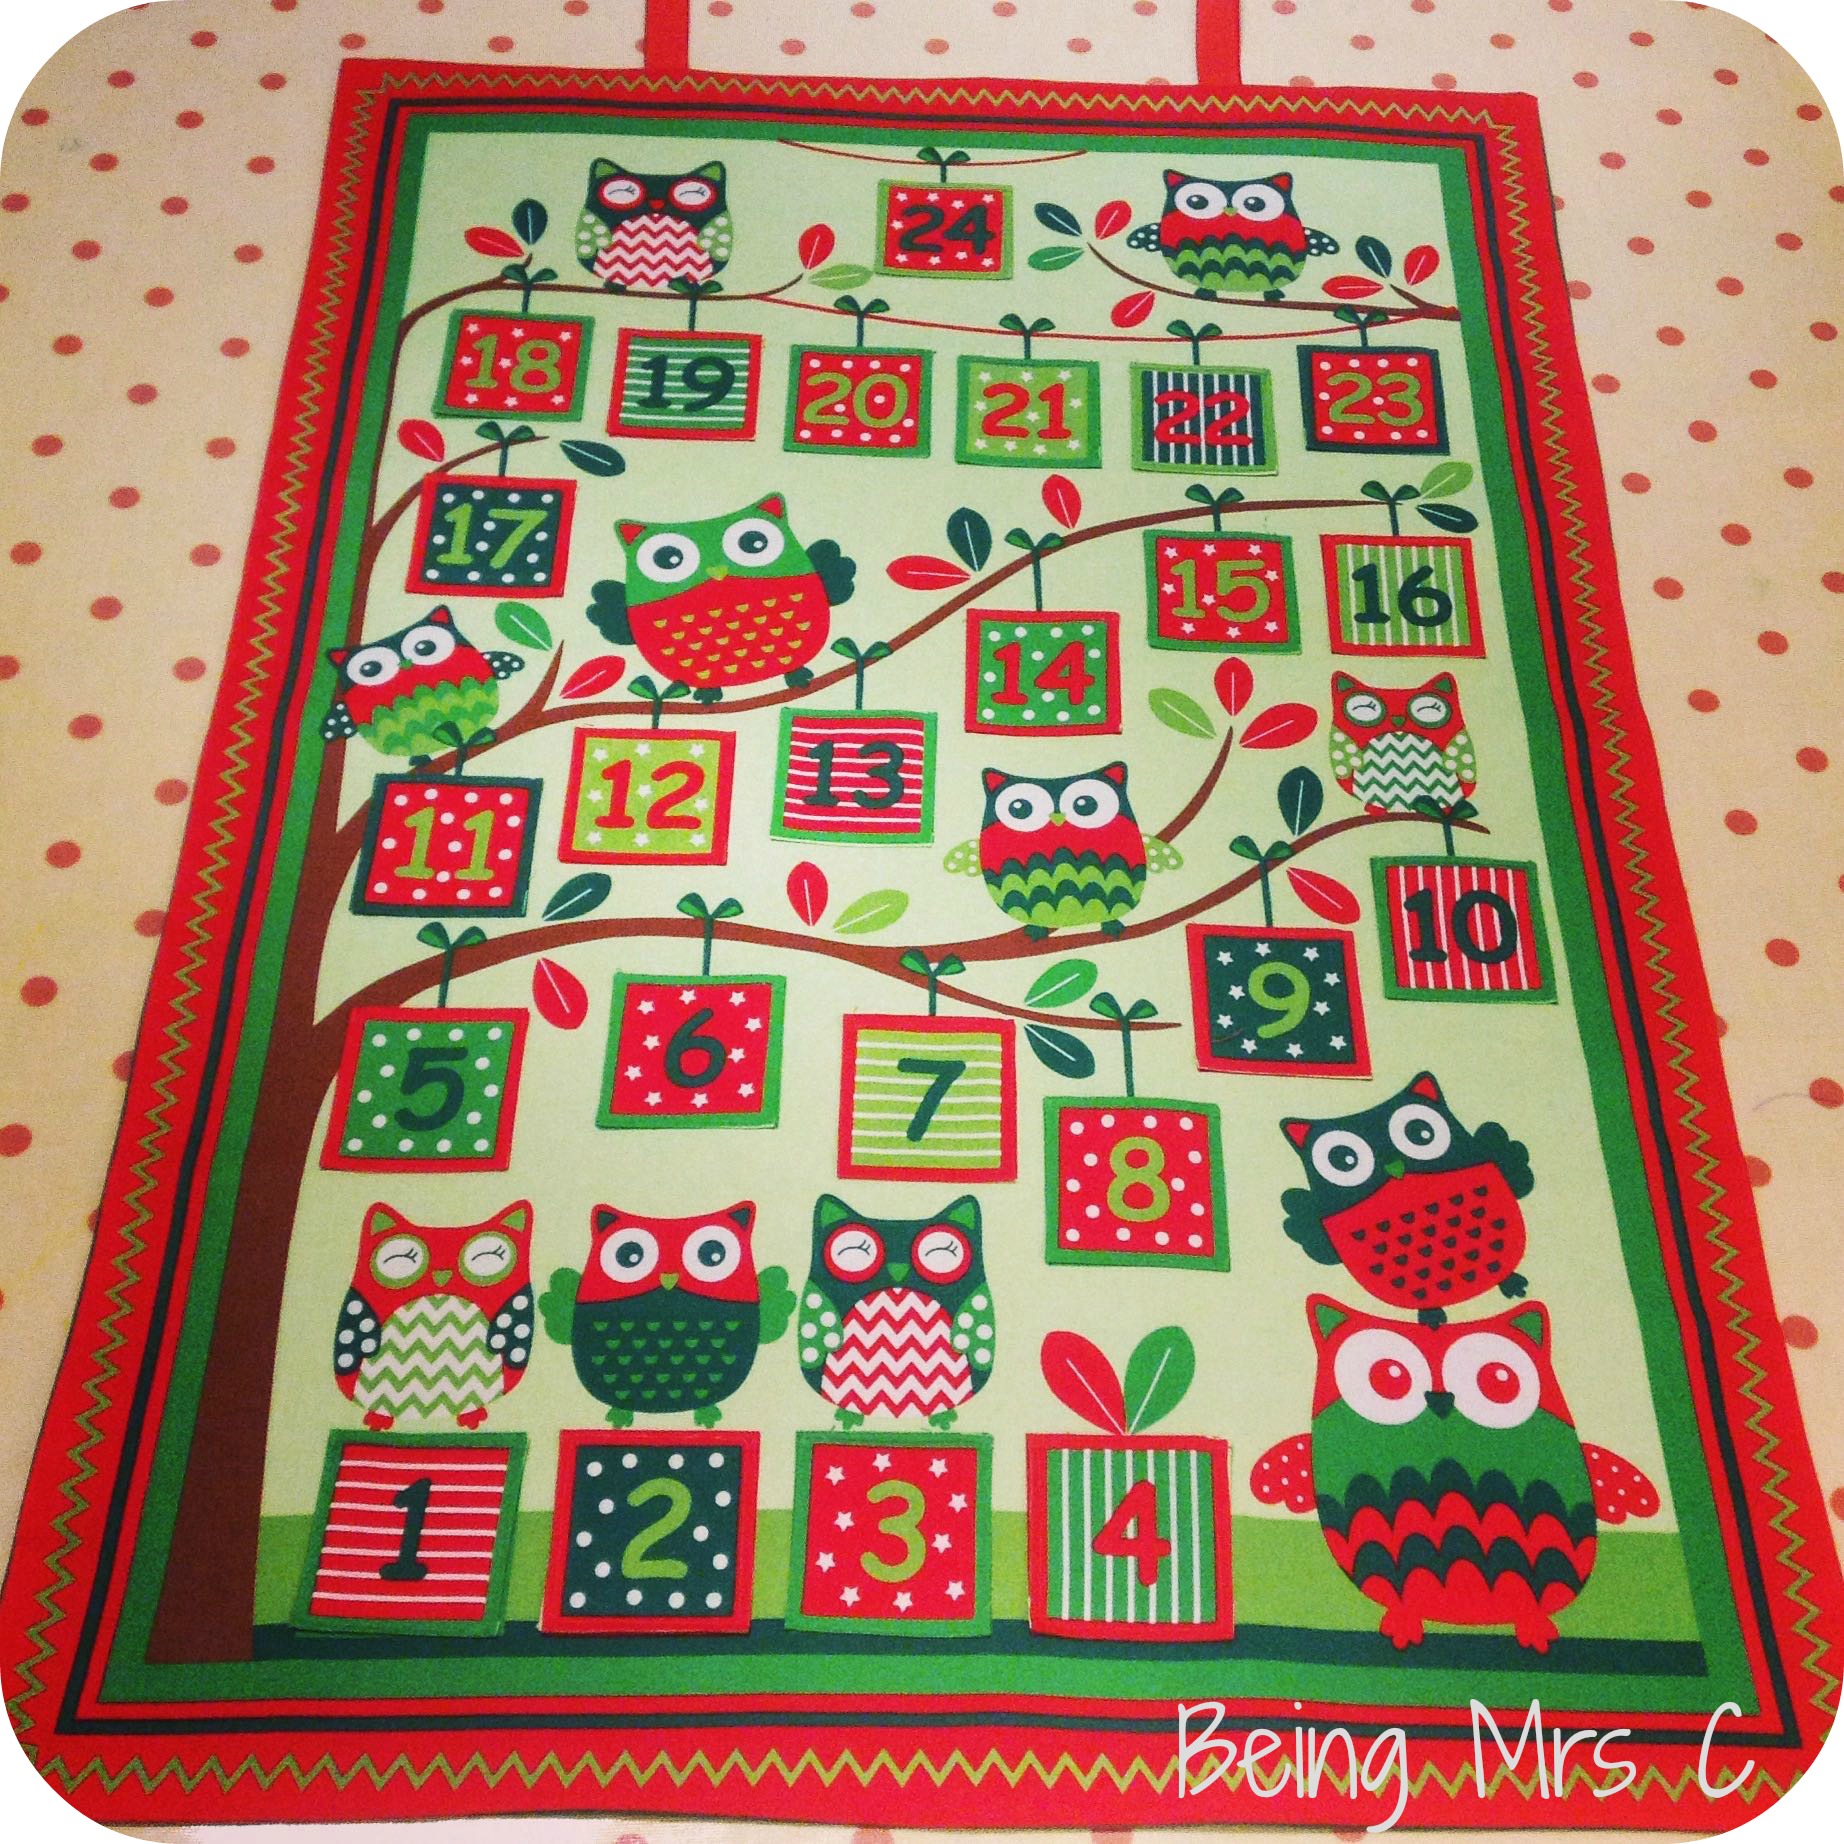
Once all the pockets were in place I cut a piece of the green backing fabric to the same size as the front panel and pinned the two right sides together. At the top I also pinned in place two pieces of red ribbon that would be used to hang it.
Leaving a gap of 10cm at the bottom to allow me to turn it inside out I just did a simple running stitch on the machine all the way around the edge. After clipping the corners I turned it inside out and pressed it before sitting down on the sofa and catch stitching the gap at the bottom closed by hand.
All finished – and amazingly more than 24 hours before advent started. Now to try and get all those other projects finished as efficiently!
LMC seems to be delighted with it, although she did then insist on filling it all up herself with small toys form her toy box! I plan to add a sticker or two to each day’s pocket, with maybe a couple of slightly larger things towards the end, but for the time being she just seems to be looking forward to the toys that she’s put in the pockets herself, so who am I to deny her that simple pleasure.
It looks axe. I have two to make for the boys, only had then six years!
Wow, that’s gorgeous.
I’m desperately trying to find where I can get this calander to make. Please can anybody point me in the right direction to get this. Thank you