I’ve blogged many times now about how much I love my WI group here in St Albans. I look forward to our monthly meetings and really enjoy having that couple of hours to concentrate on something completely different – and often to try my hand at something new in the process.
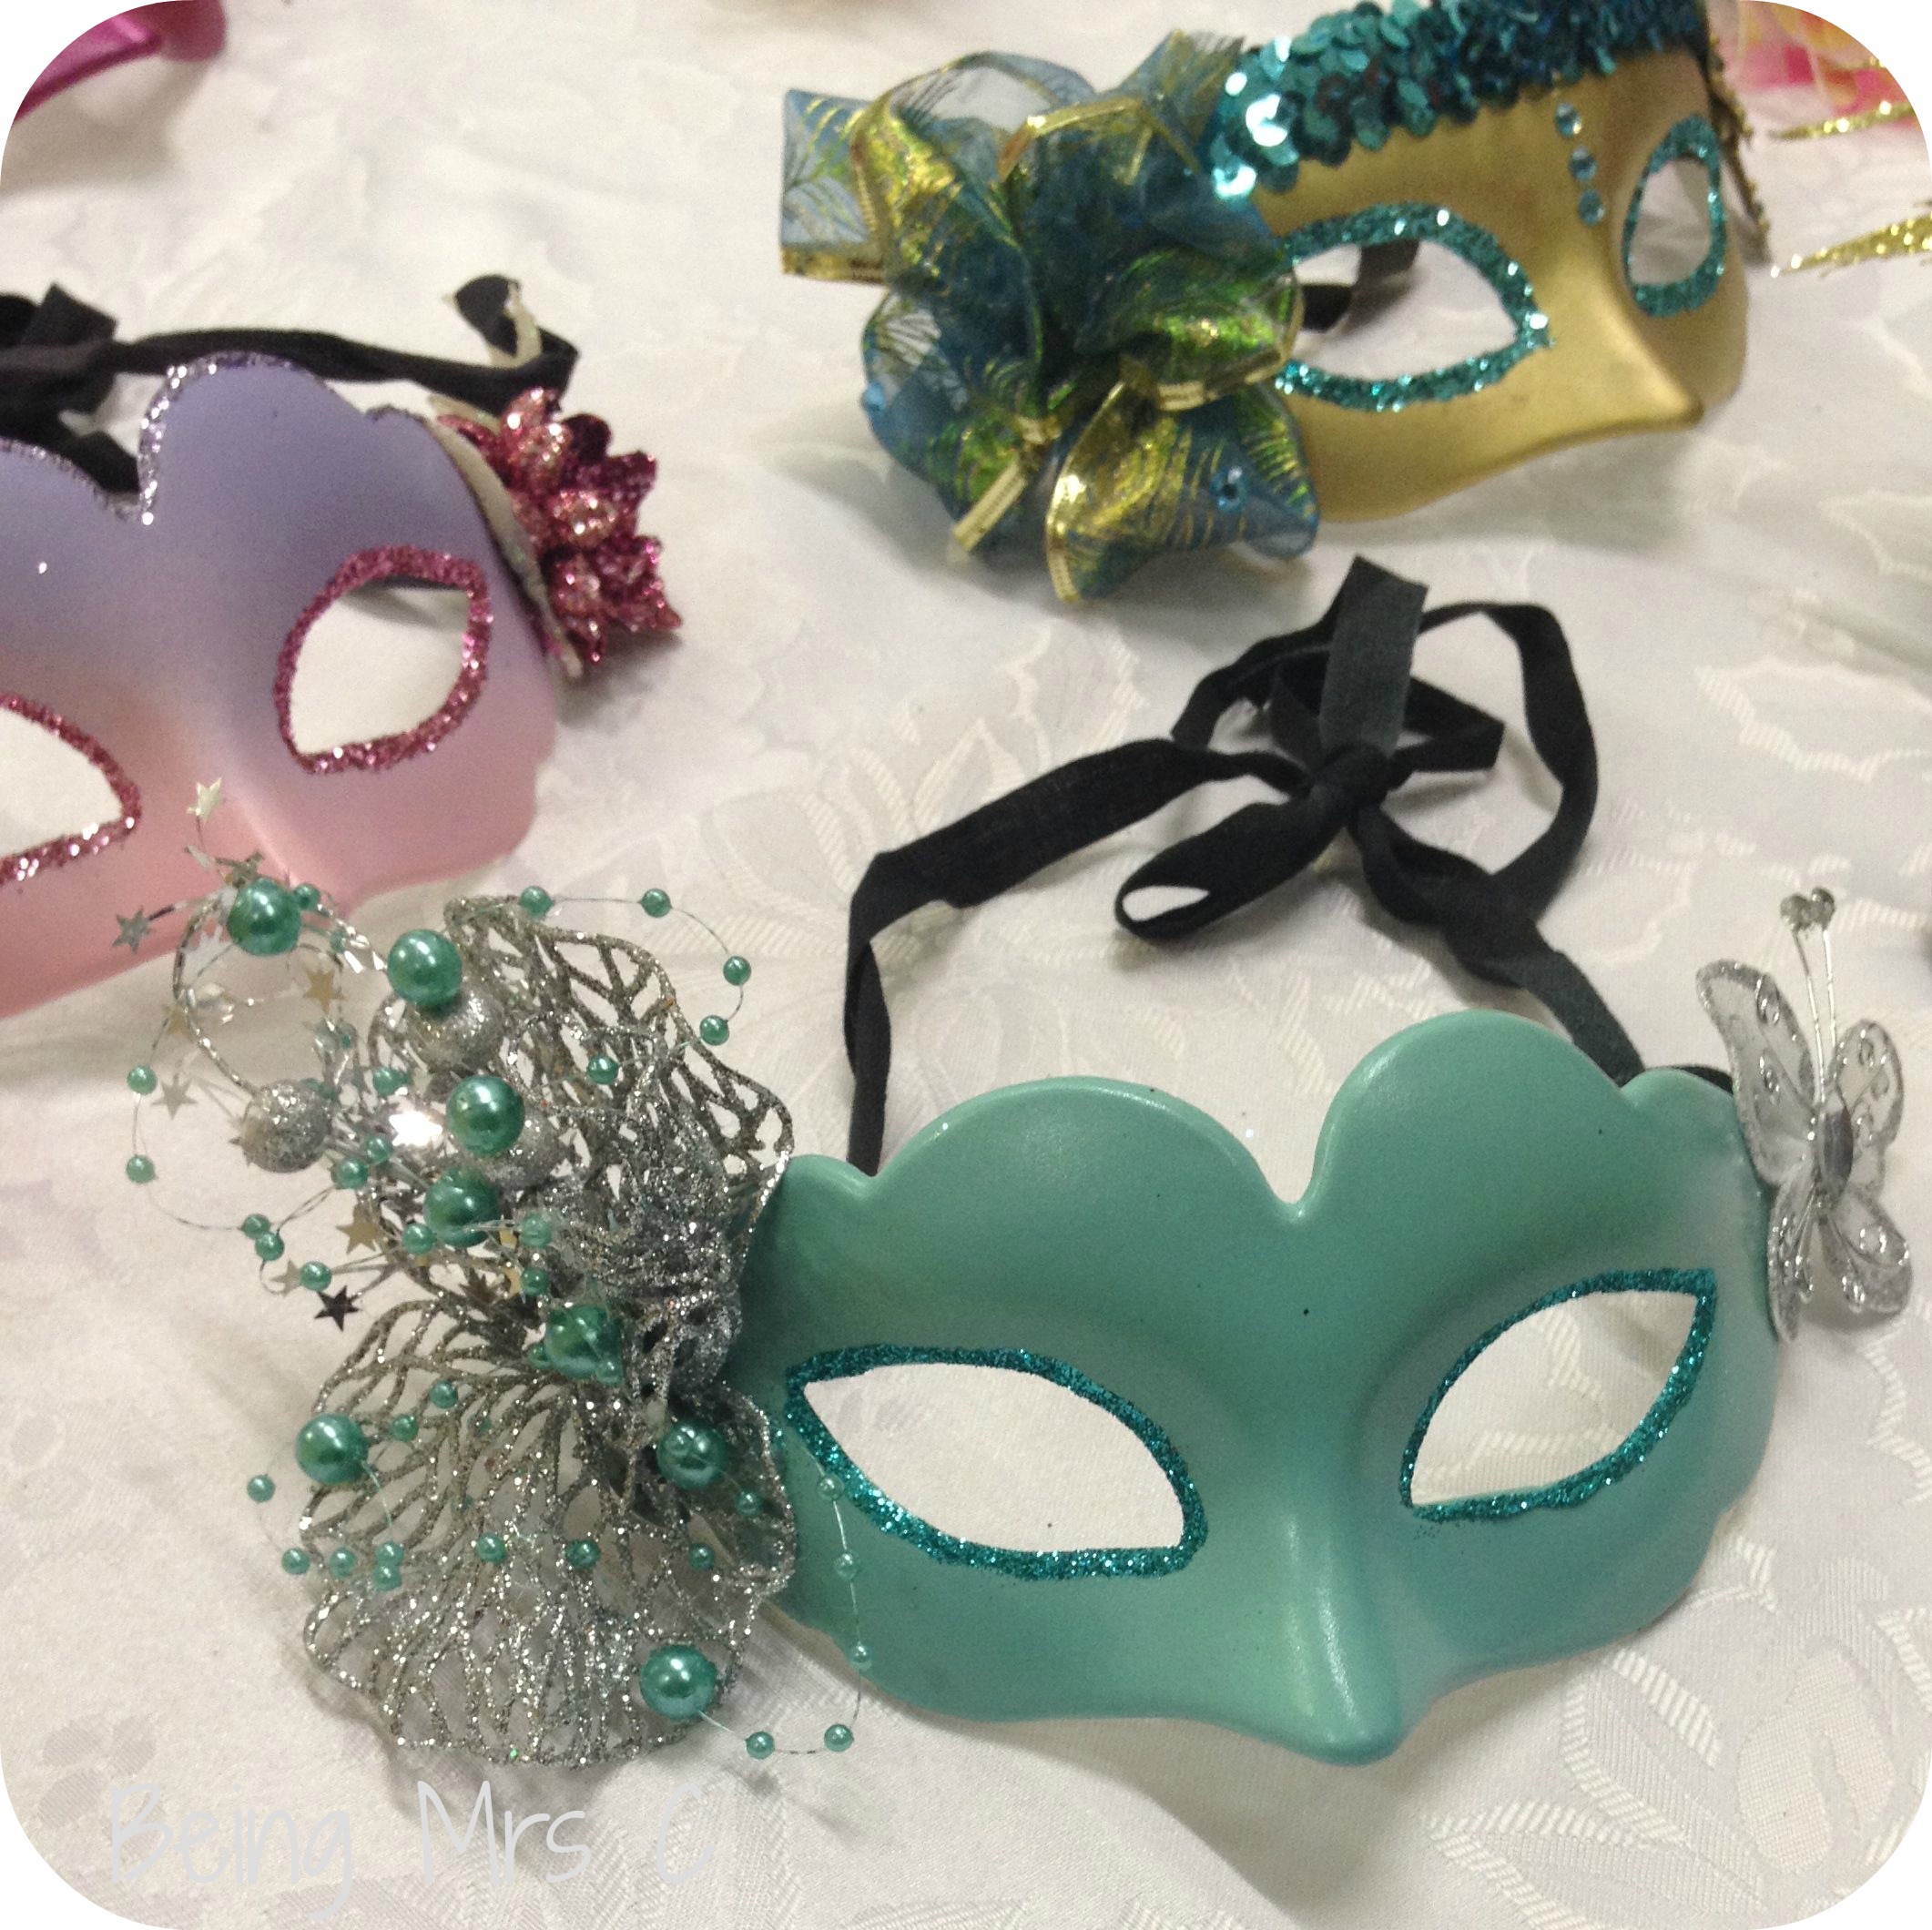
This last month – slightly inspired by Halloween – we had a short talk on Venetian Masks and then had a go at making our own ones. I went to Venice with my family years ago and still remember vividly the masks hung up outside so many of the shops we came across in the streets of the city. They were gorgeous and the examples that were brought to our meeting were so too. The ladies who came long sell masks and I picked up a gorgeous bright pink one which I’m hoping Little Miss C will fall in love with on Christmas day.
When it came to making our own masks, the committee had provided us with blanks to use and then we each brought along our craft supplies to decorate them as we wished. Luckily I was sitting next to my friend J who normally brings most of Hobbycraft with her to meetings so I was completely spoilt for materials!
I also took along the goodies from the latest Bostik box from Craft Merrily and after seeing an example mask covered in ivy leaves I knew that I wanted to make use of the gorgeous leaves that merry had included in our packs.
In terms of materials this is what I used:
- Blank mask (there’s a selection available online here or large craft shops often have some in)
- PVA glue
- Green tissue paper
- Orange nail varnish
- Yellow ric rac
- Bostik Bostik Sew Simple
- Fake leaves
- Bostik Glu Dots
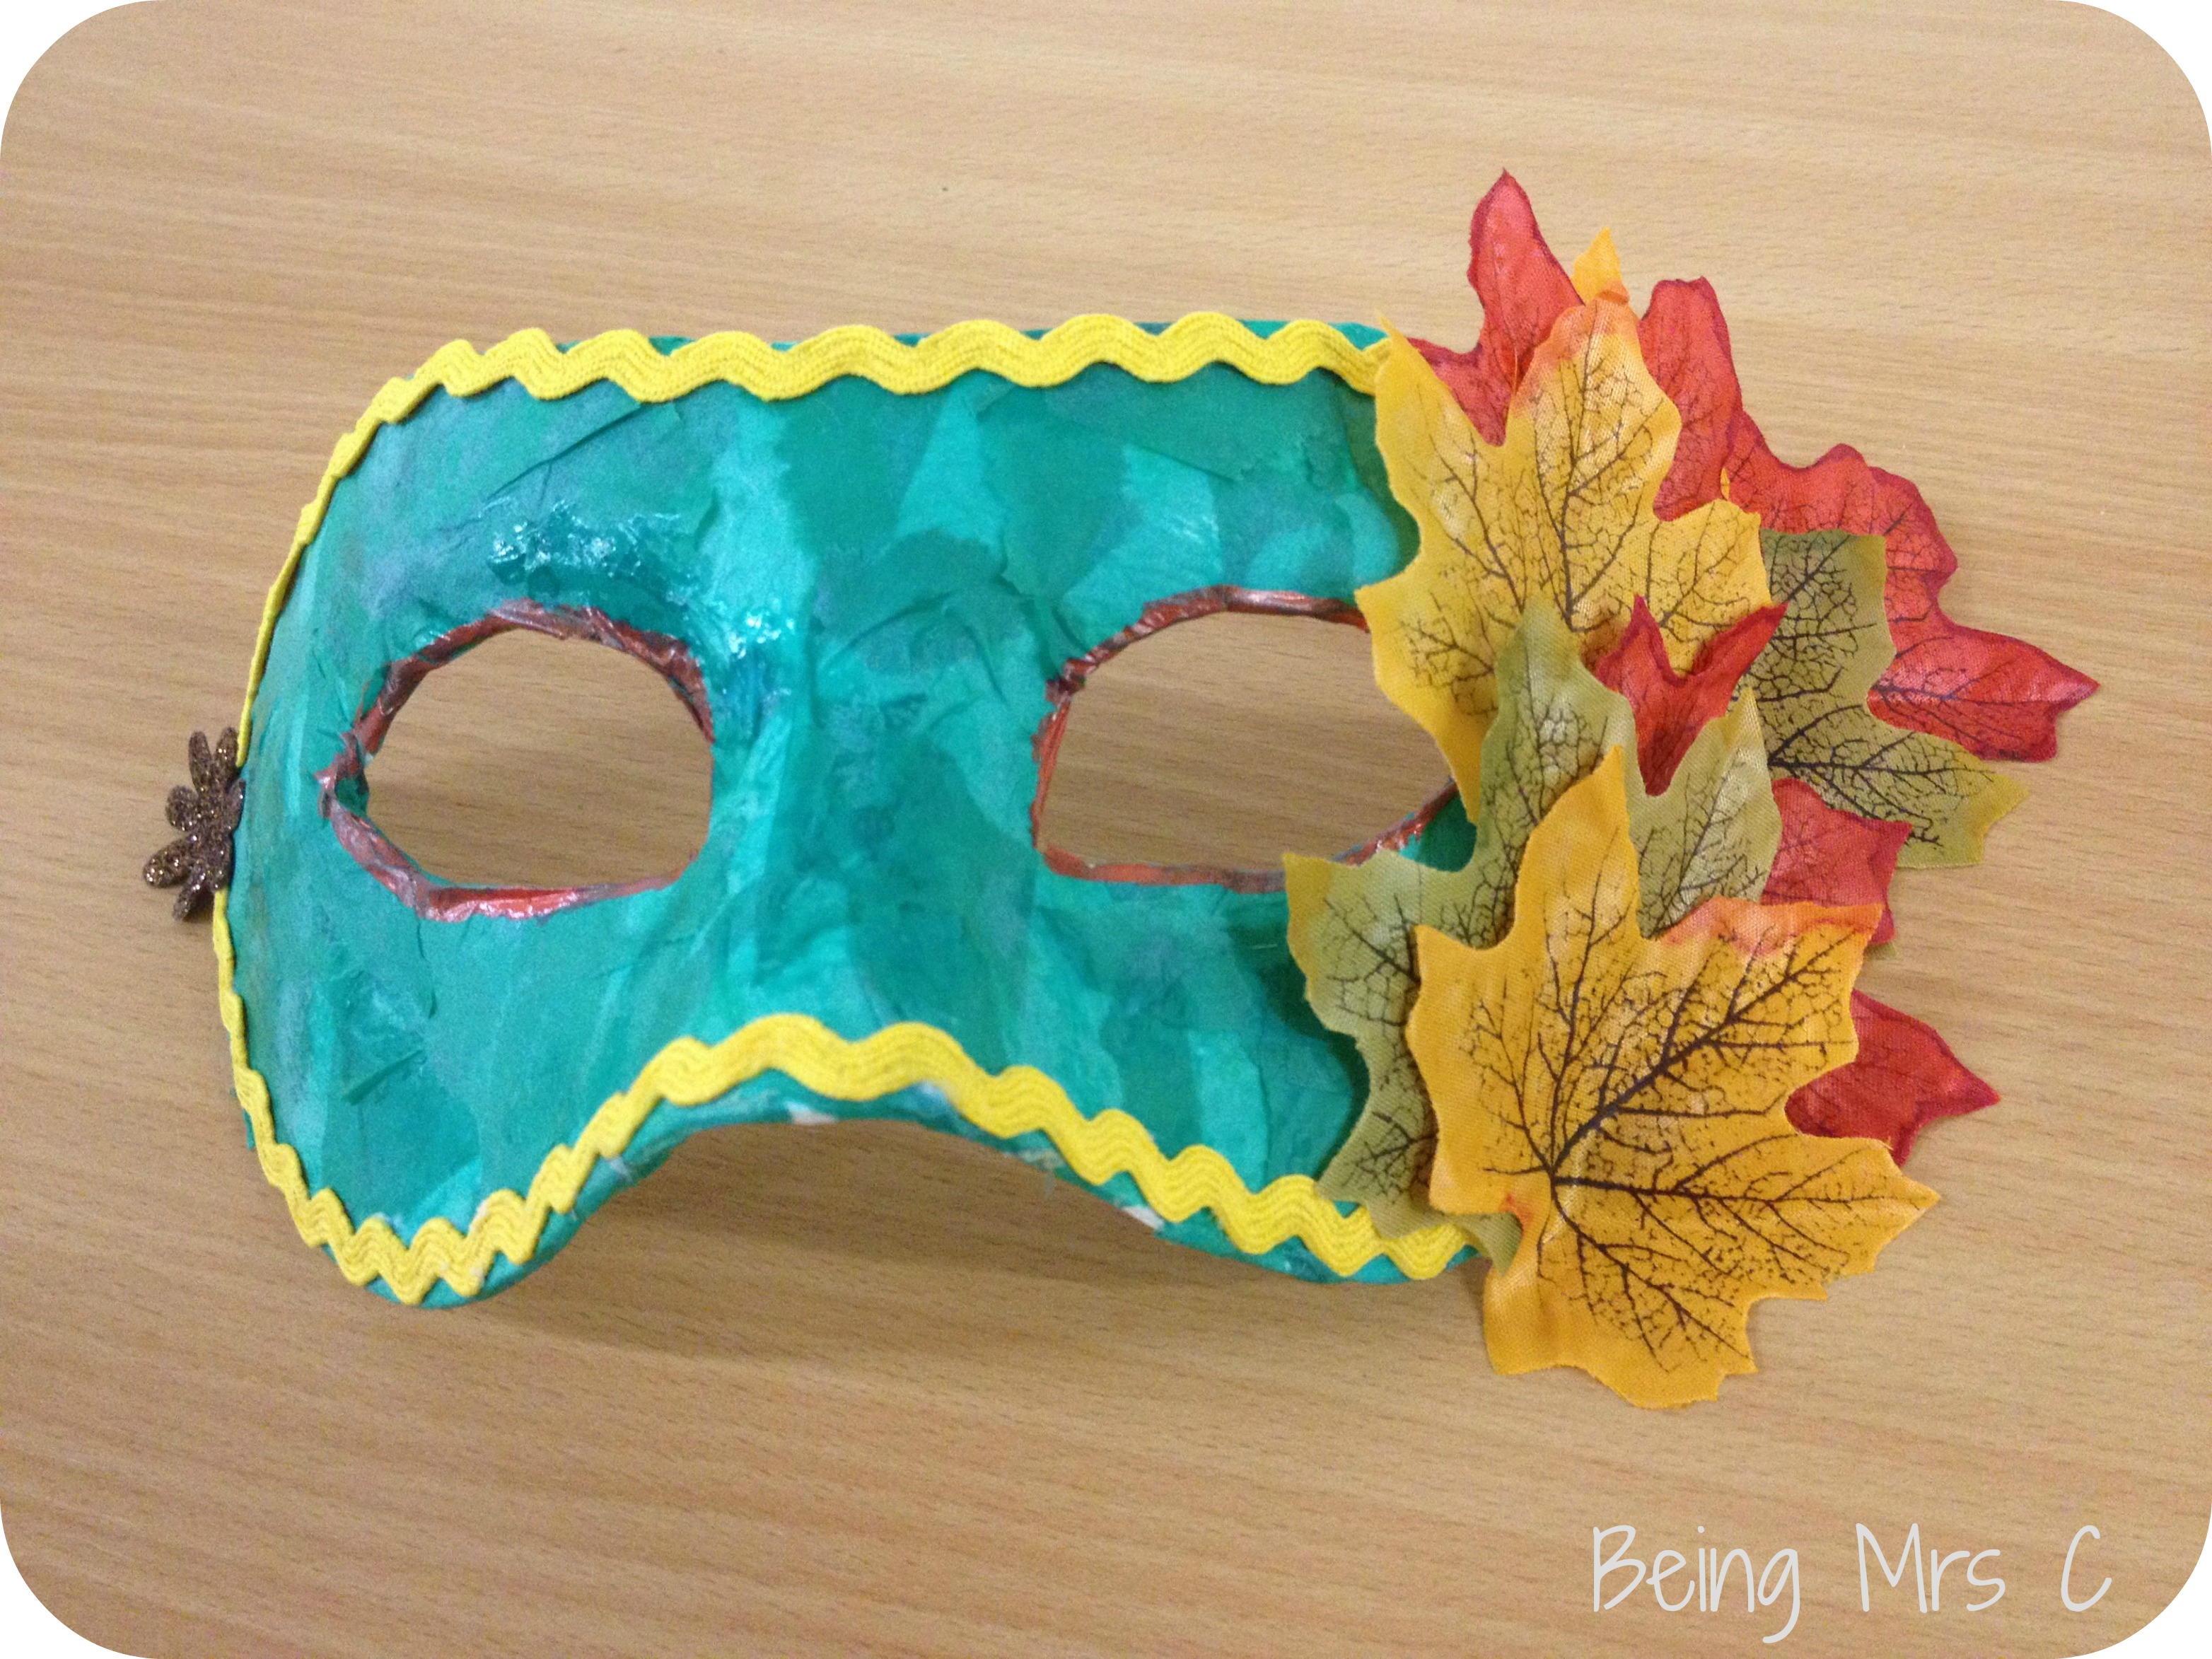
The first thing I did was tear the green tissue paper up into small pieces and then decoupage them (with the PVA glue) onto the mark until it was covered – making sure I covered the edges of the mask too.
Once the green tissue paper was dry I outlined the eyes with the orange nail polish to help define them. I also added the yellow ric rac around the outside edges of the mask, using the Bostik Sew Simple.
On one side – in my case the right hand side as I looked at the mask – I added a handful of the leaves and used the glu dots to attach them securely.
It felt like the mask needed something else to balance it out on the other side and so I just added a golden sparkly flower from J’s craft box. I’m not sure it was totally the right thing to add, but it definitely needed something there.
I’m really pleased with my finished mask and it’s definitely got me thinking about what I could do in the future, especially to make masks for the children for their dressing up box.
Disclaimer: We were sent a box of craft goodies as part of our role on the Bostik Family Craft Bloggers Network. This post contains affiliate links.
Leave a Reply